Covering up the cable carnage
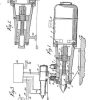
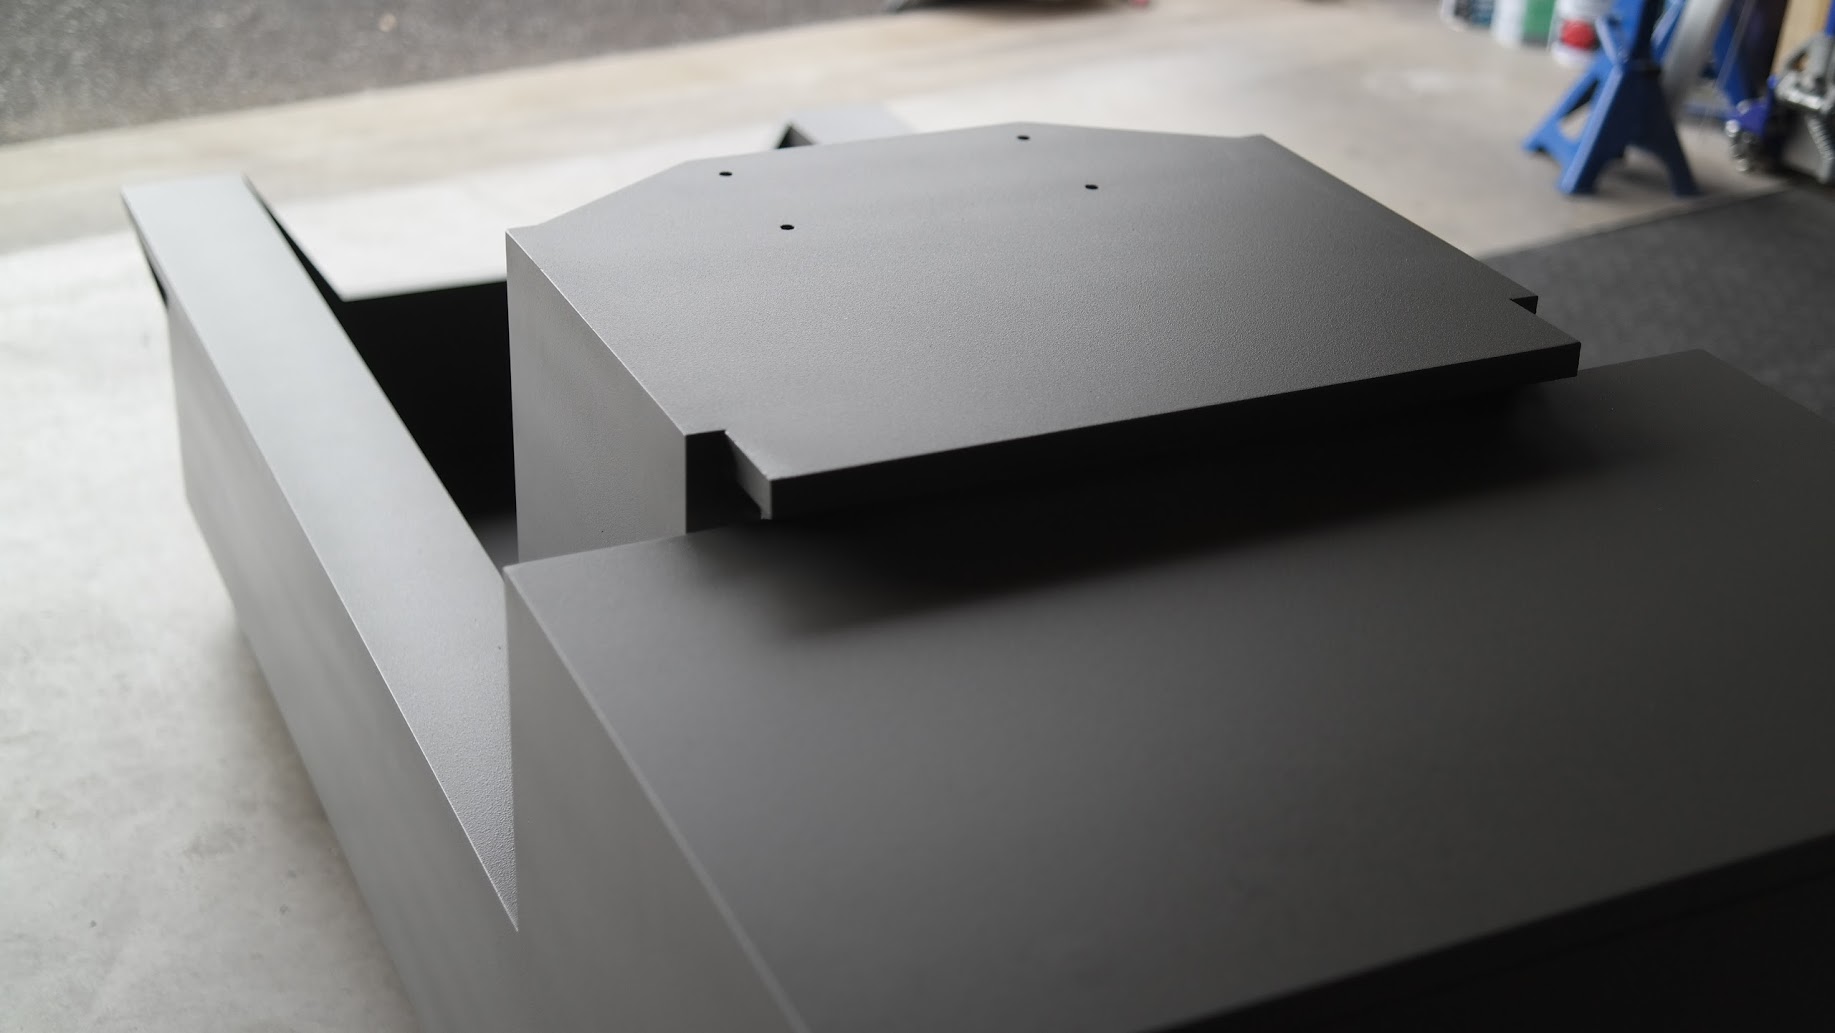
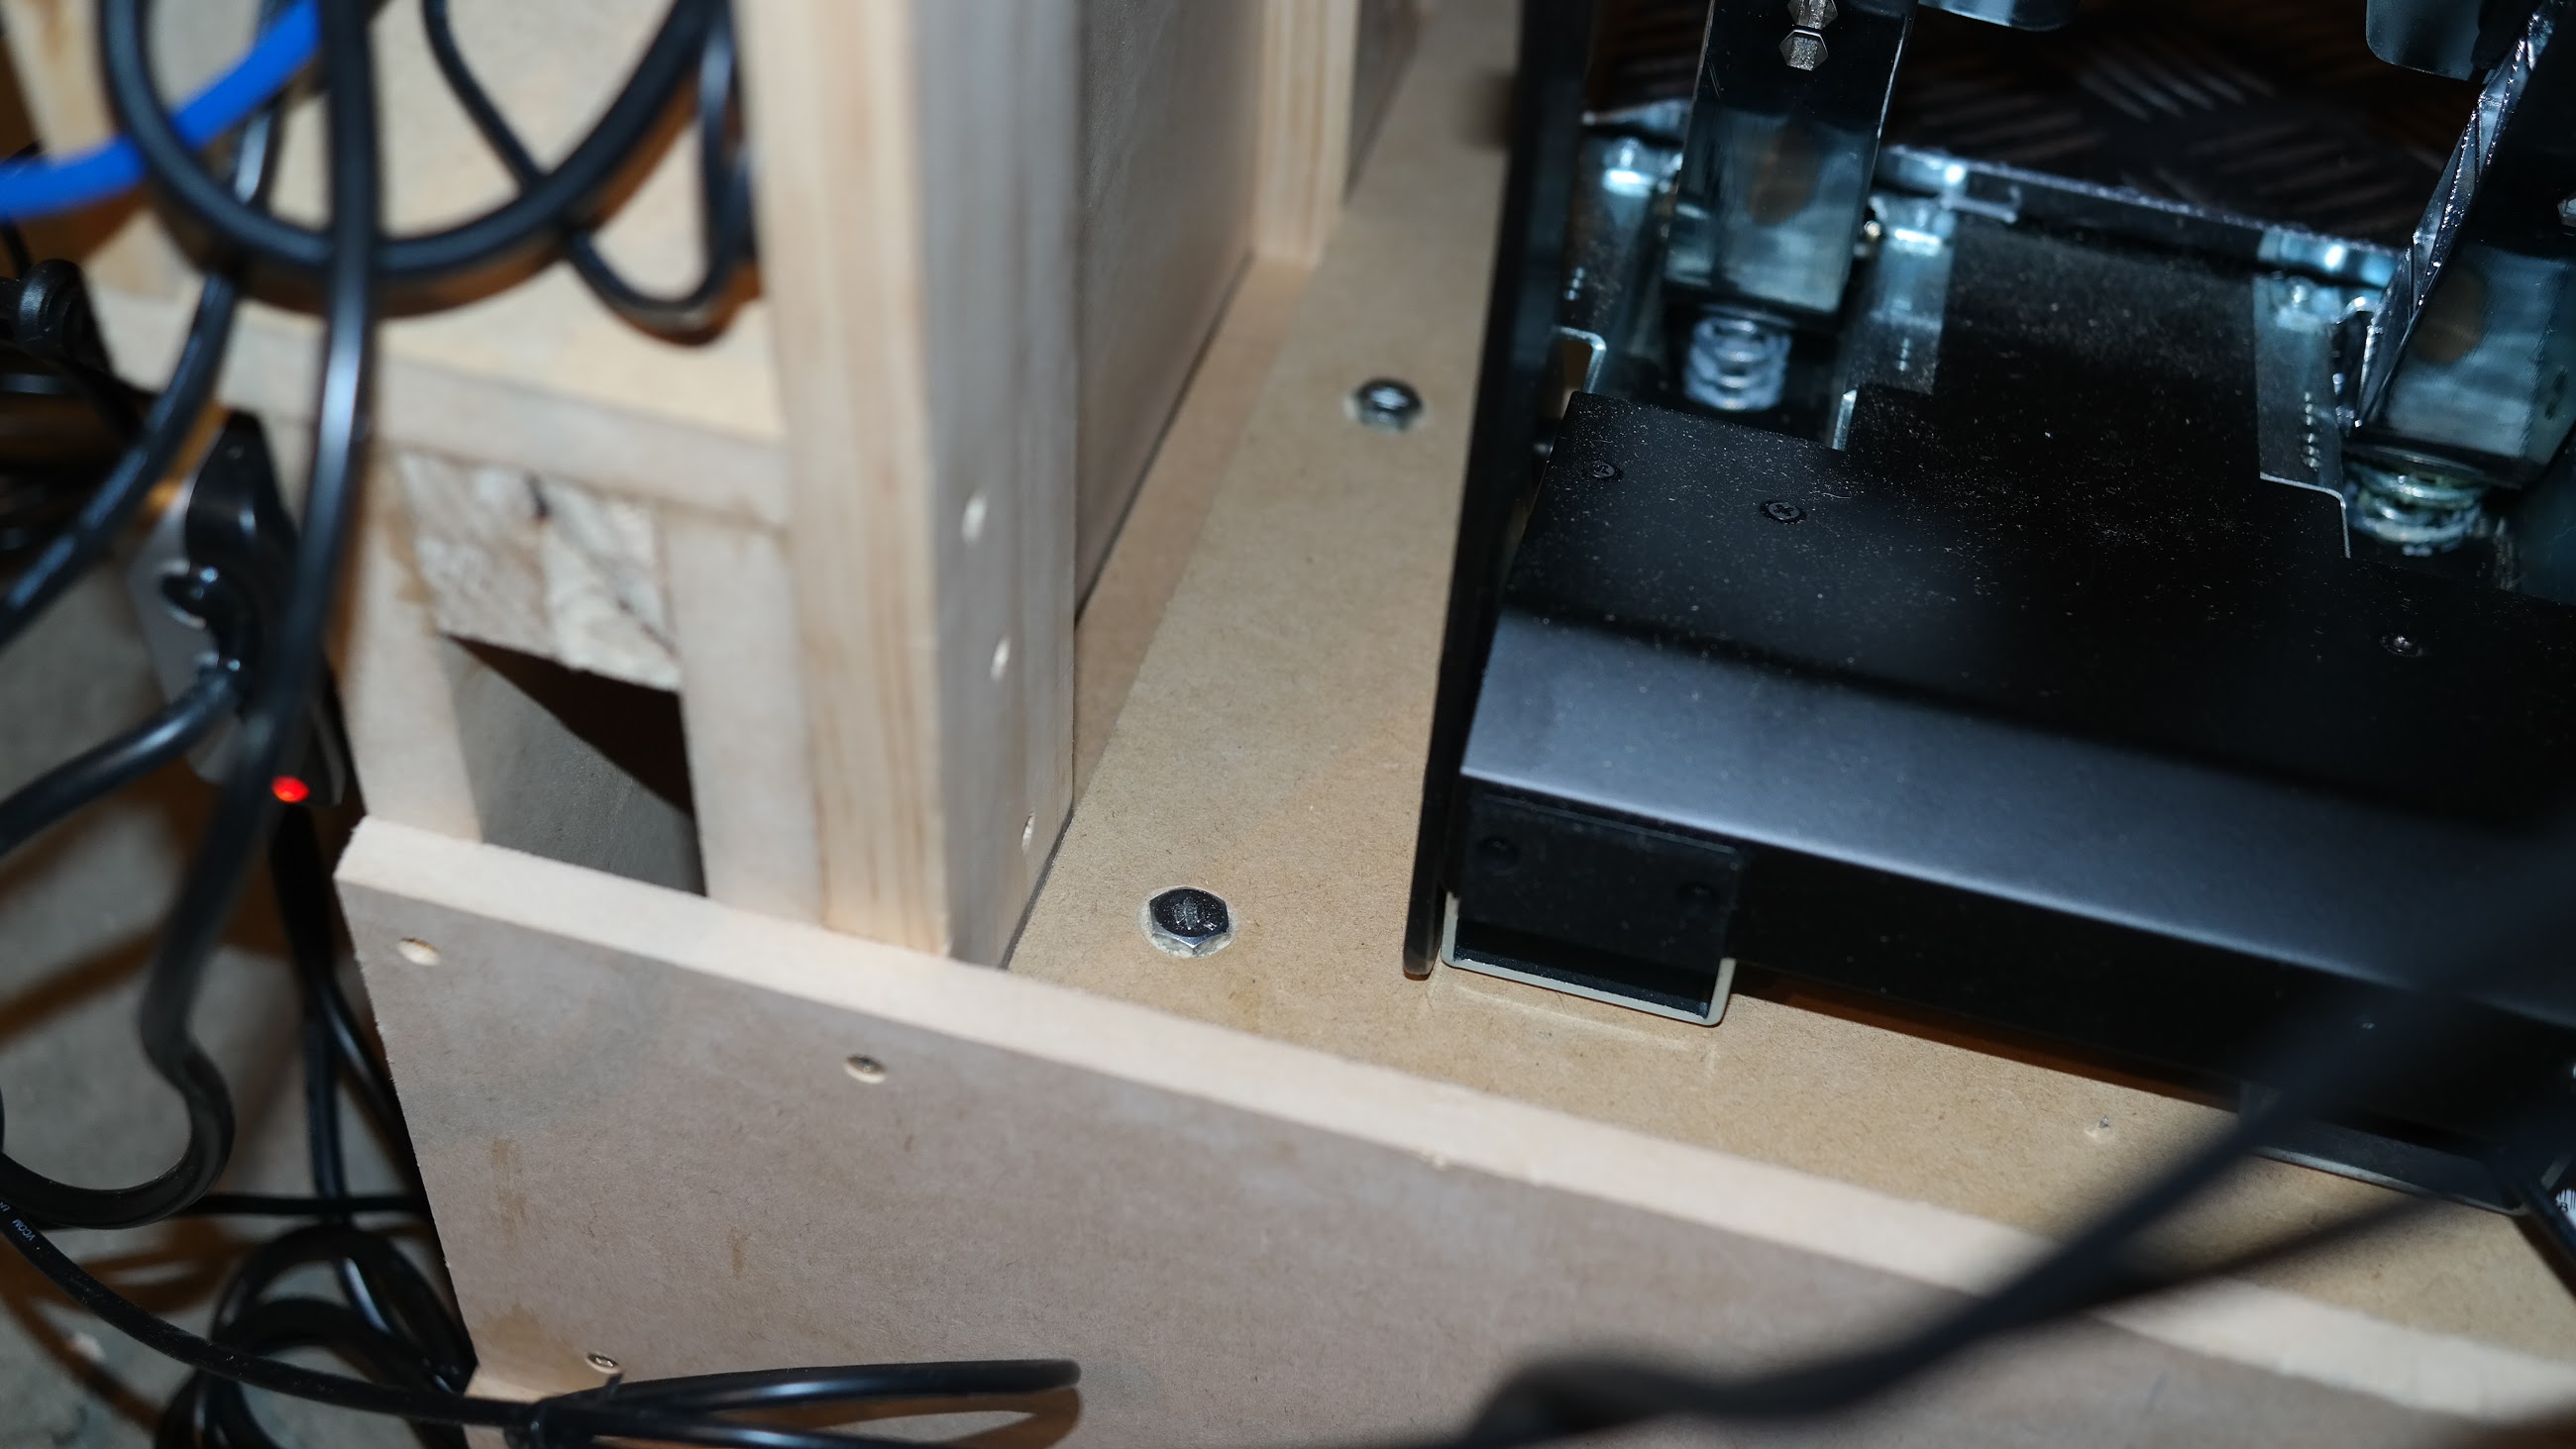
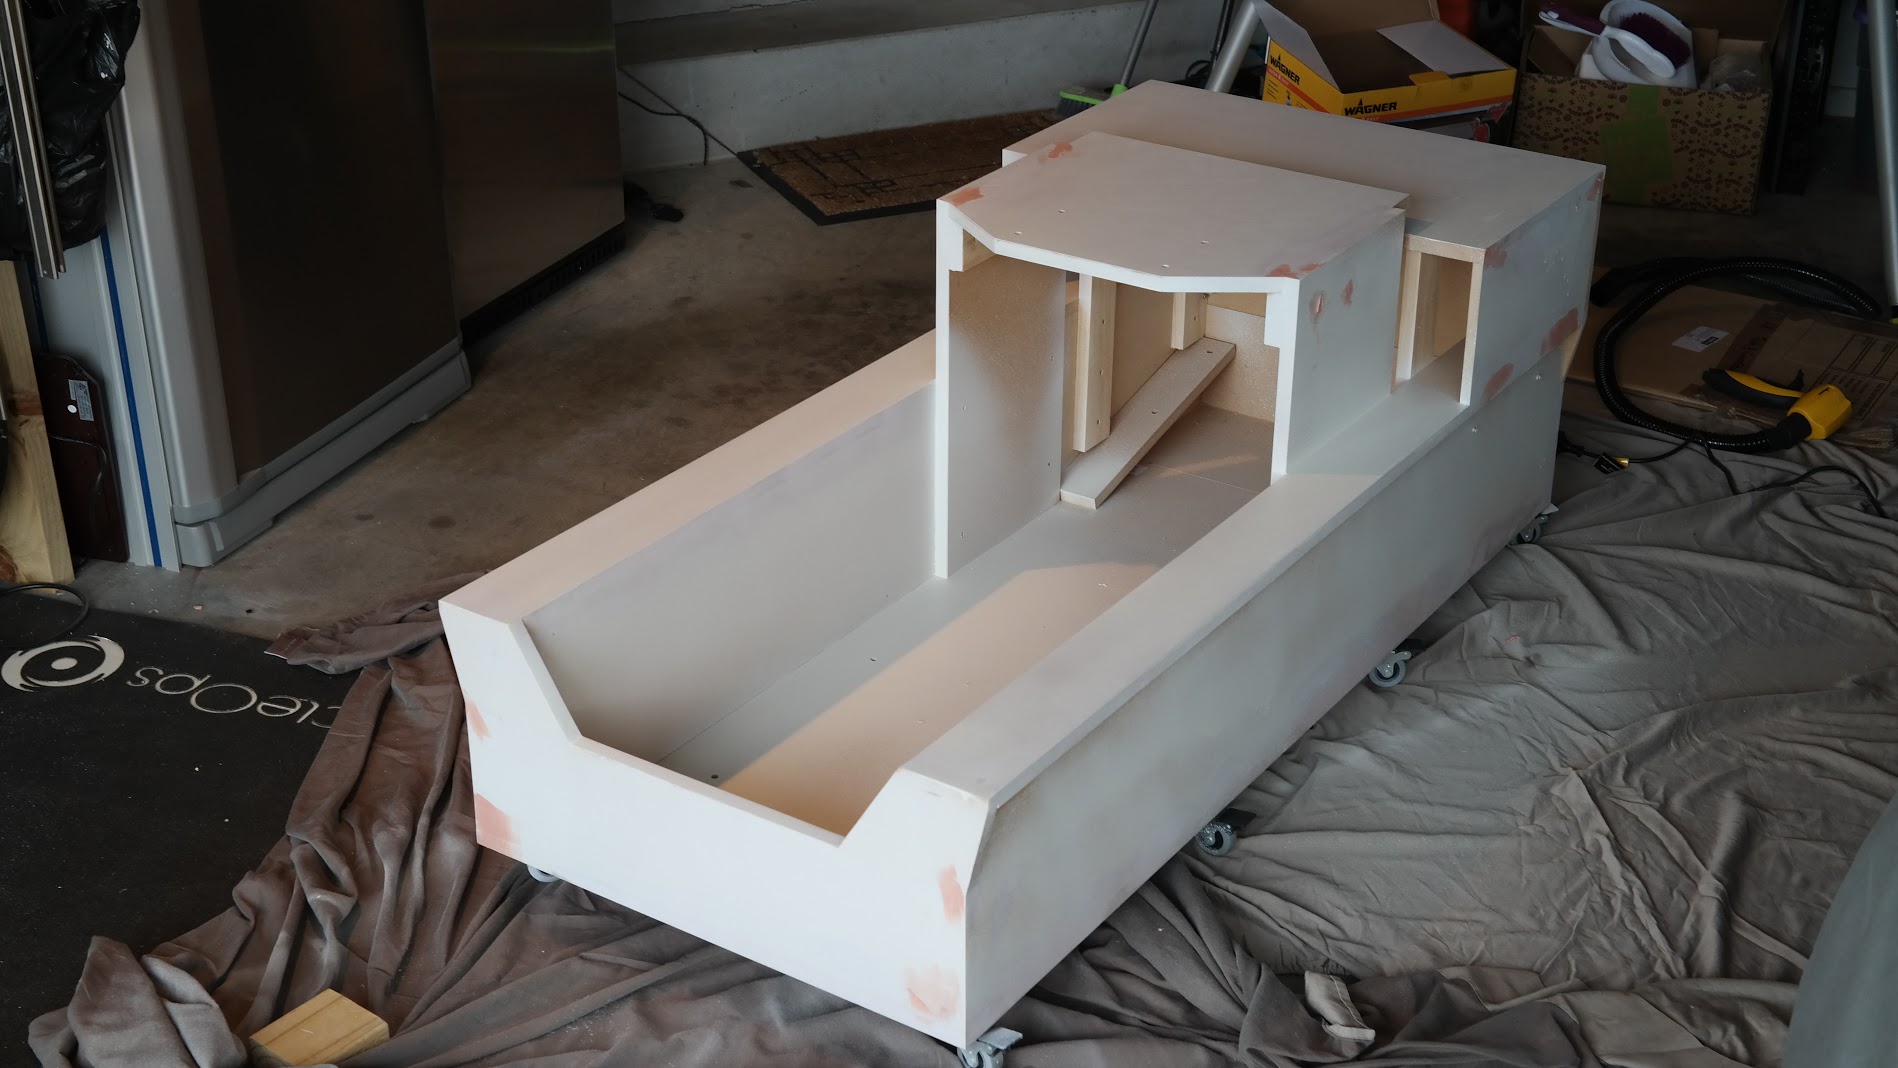
Before getting onto painting I needed to get the rear of the unit covered in to hide the cables. While doing that I also used that as an excuse to modify the pedal mount to be removeable as there was no way it was coming out otherwise.
Removable rear panel
Finishing and Painting
I could have left the rig in plain jane MDF, however that wouldn’t be sporting now would it?
In what (probably) was an error in judgement, after getting some samples of 3M Di-Noc vinyl I elected to go for an old school paint finish. Old school paint finishes mean sh-tloads of hard work as I was about to be reminded of :

The disassembly begins.
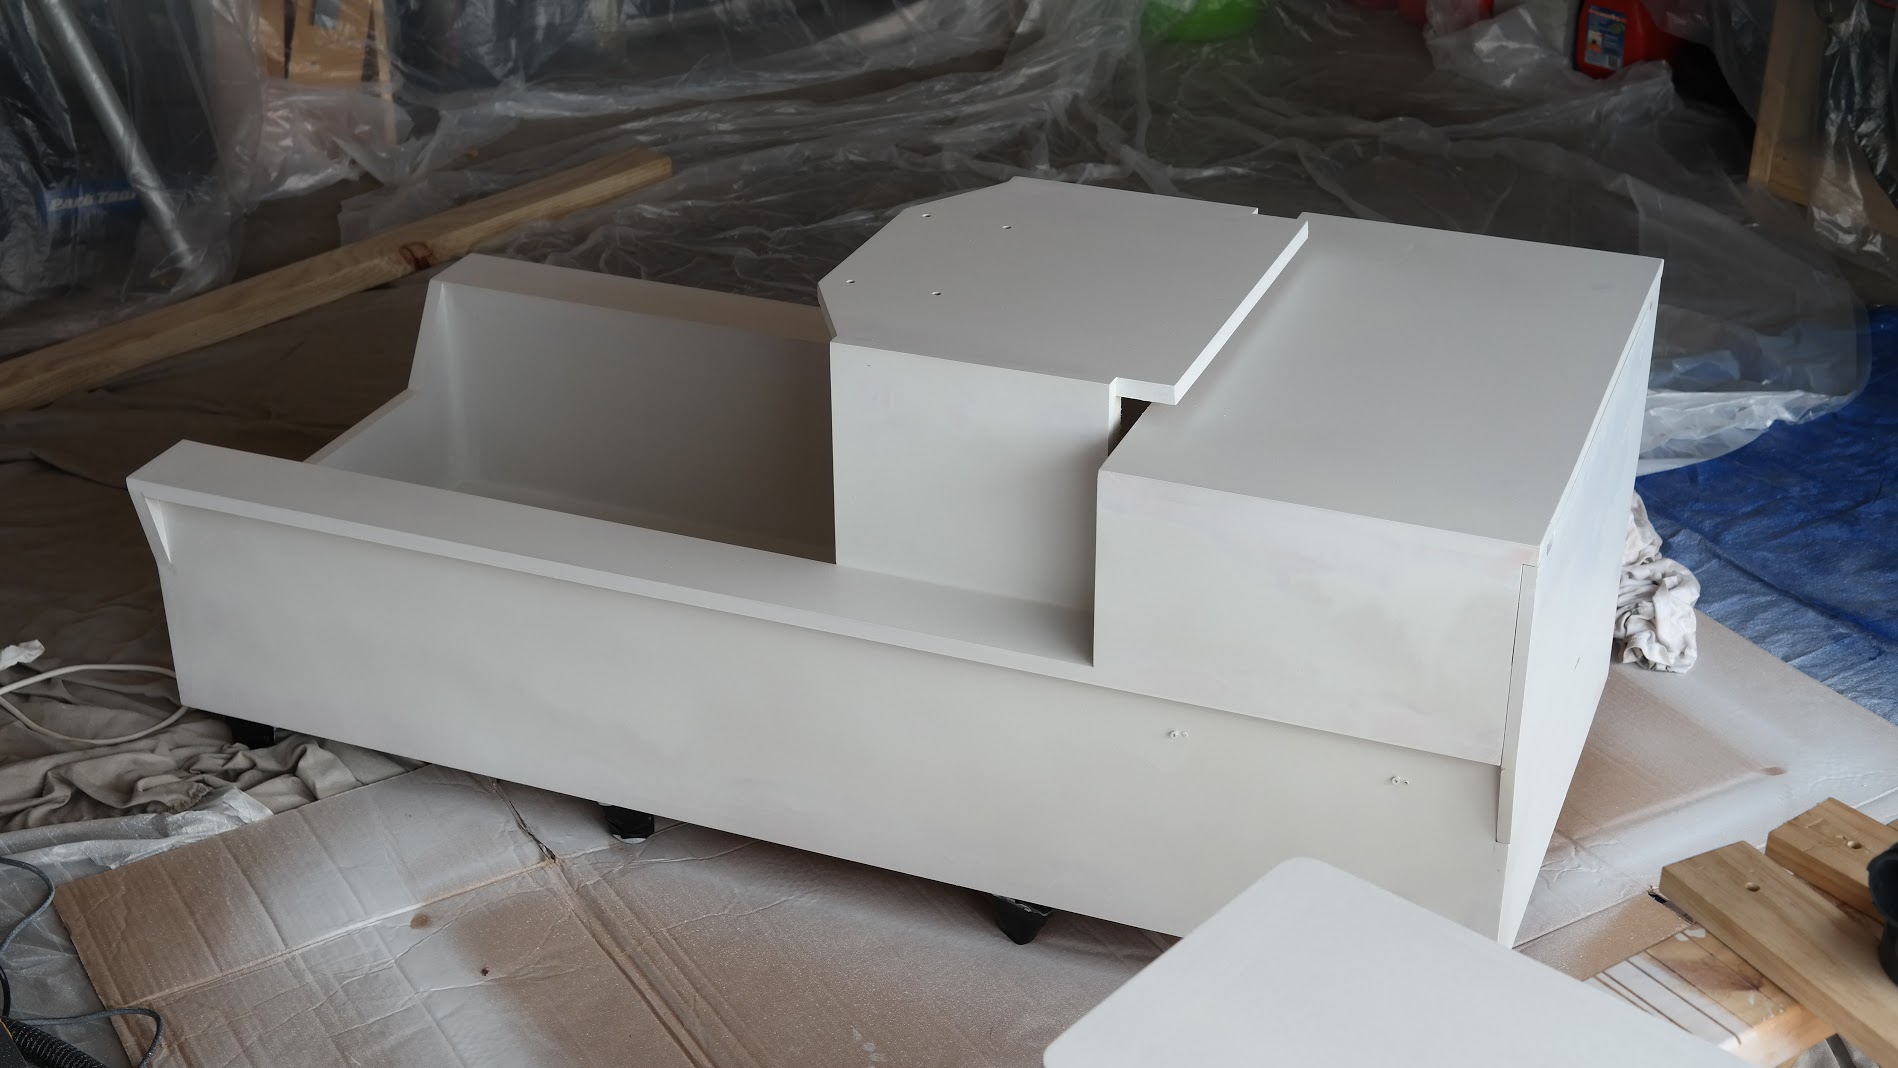
First step, trimming. Out comes the flush cut router bit. These things are a god-send, and if I had of played my cards right I would have remembered it at the start of the build and made everything slightly oversize. Very genius little bit – the roller bearing rolls along the surface that you want your joining piece to be flush with, the cutting surface takes care of the rest :

Flush cut router bit

End result – perfectly trimmed
After trimming what I could, then the filling began, filling, sanding, filling, sanding… every little nook and cranny, seam, screw hole – the lot (even after final painting I realised I missed a few things, gave up by that point). The smell of that stuff you never forget. Horrid.
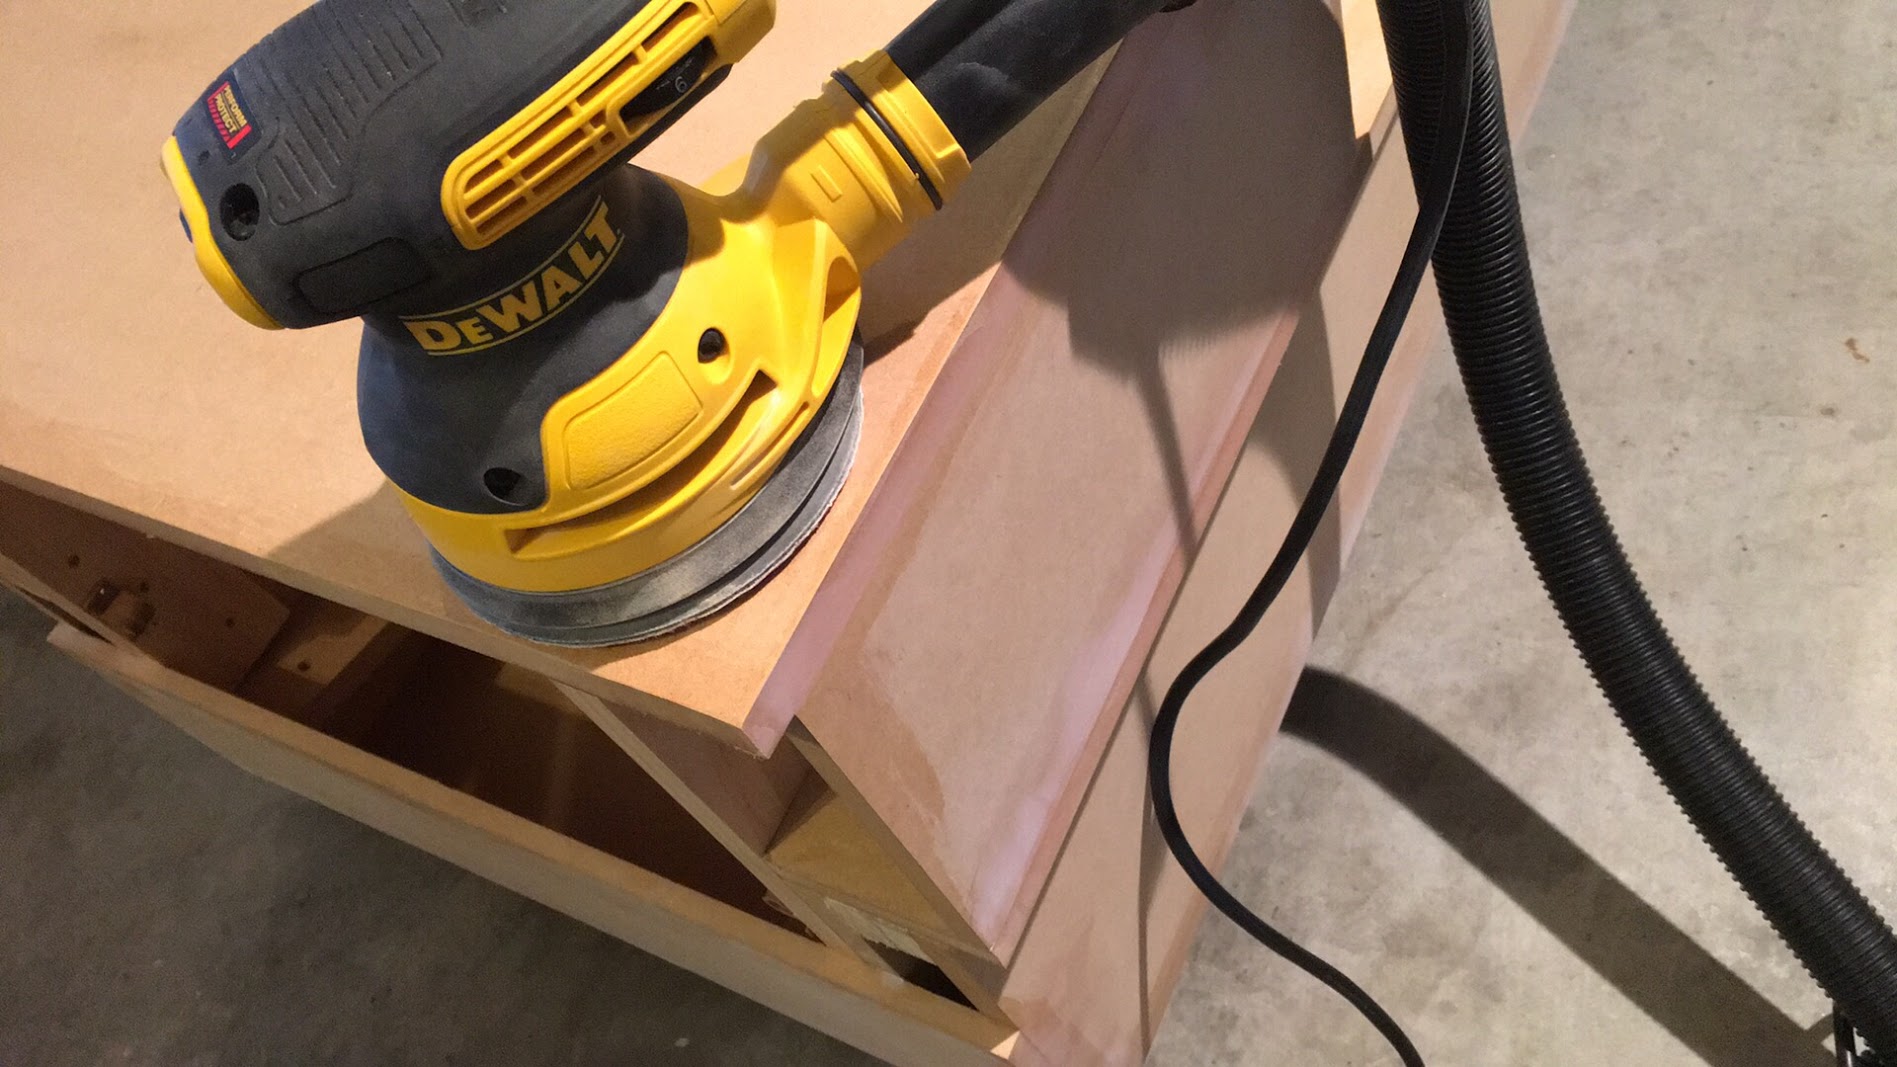
Orbital sander, attached to a Shop Vac – only way to do this stuff.
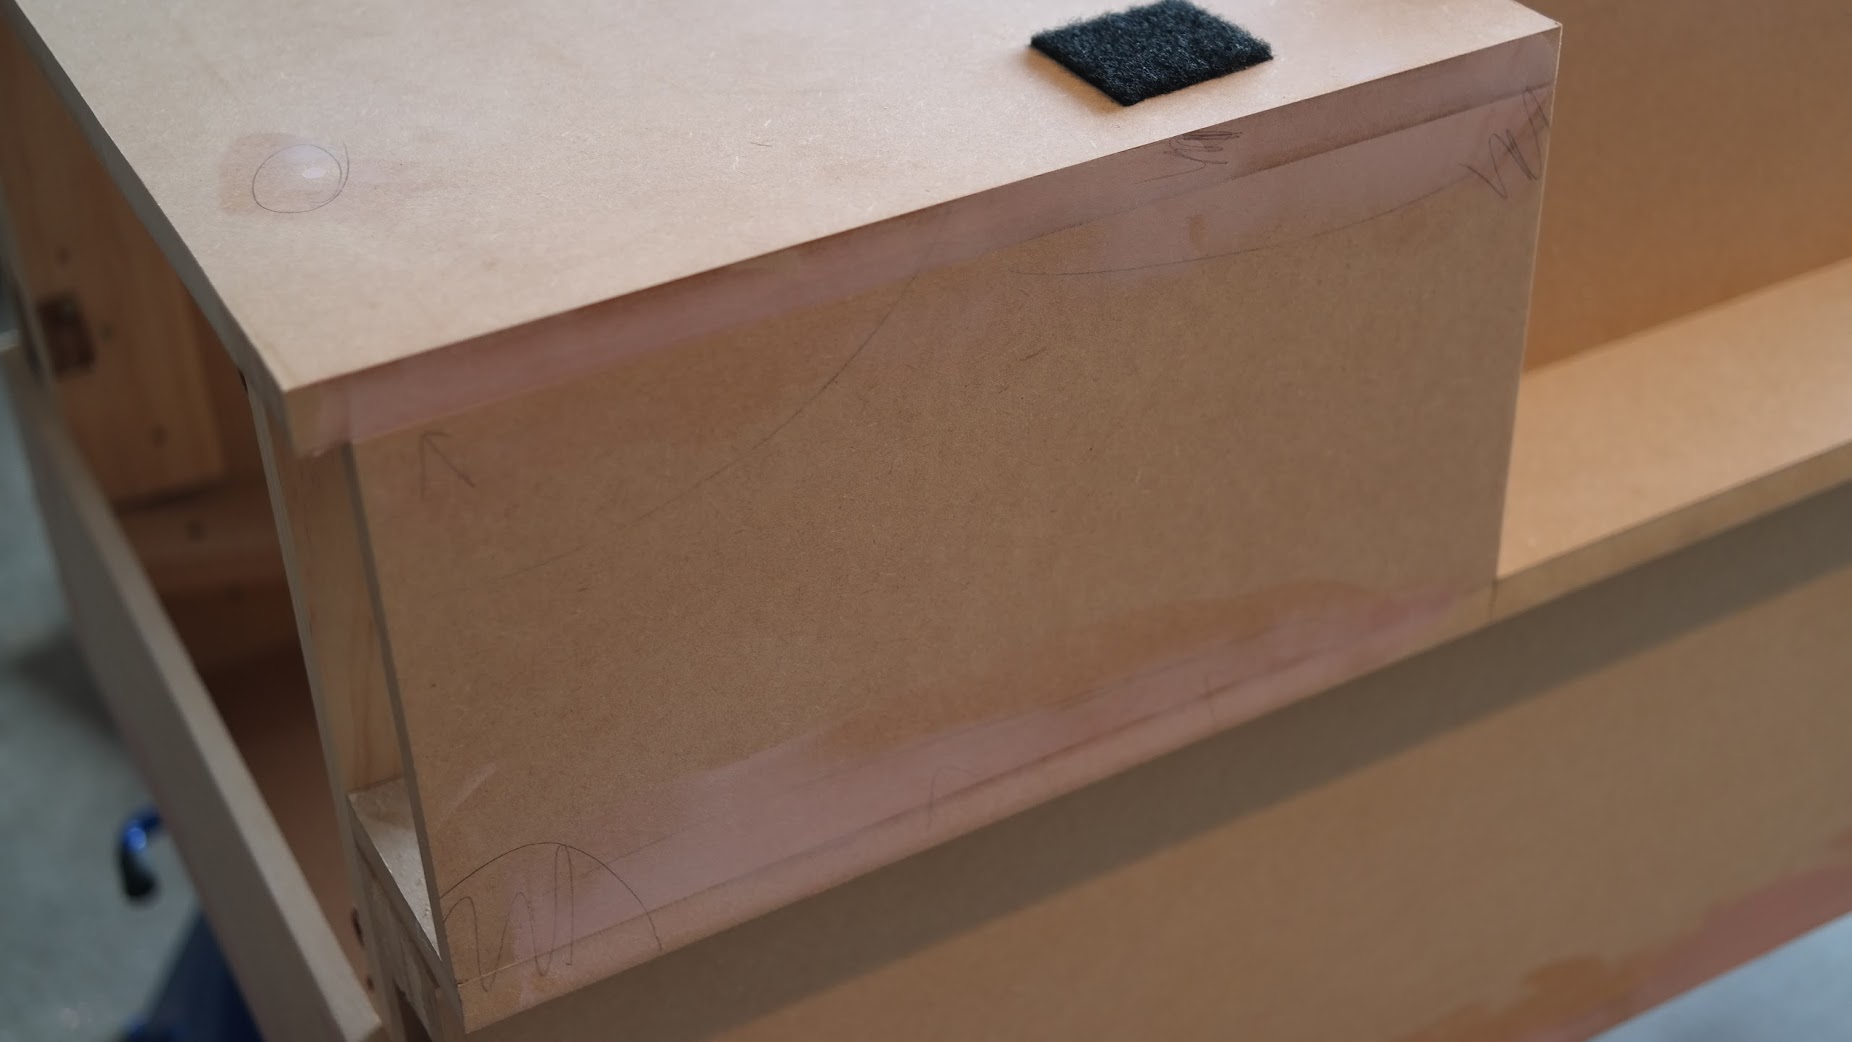
Keeping track of what needs work
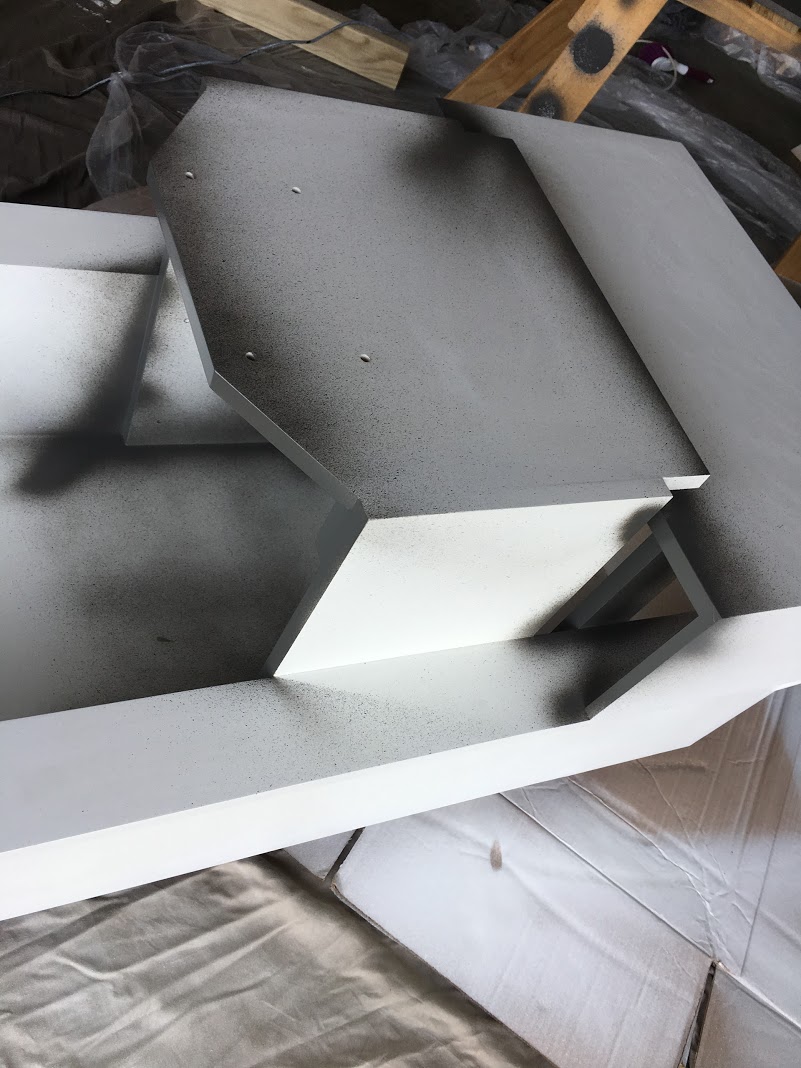
After a few days of the sanding/filling/sanding/filling routine then it was onto priming. I went with Zissner Bullseye 123, which may not have been the best choice. Spraying it with an HVLP gun was tough work – getting the right consistency and not overdoing it.
After the first round of priming I noticed yet more nooks and crannies needed filling, so out came the horrible pink stuff yet again.
Now you have to sand that stuff back, as the primer goes on it brings up grain in the MDF leaving a pretty rough surface, so yet again back onto sanding. 400 grit and a palm sander made short work of it.
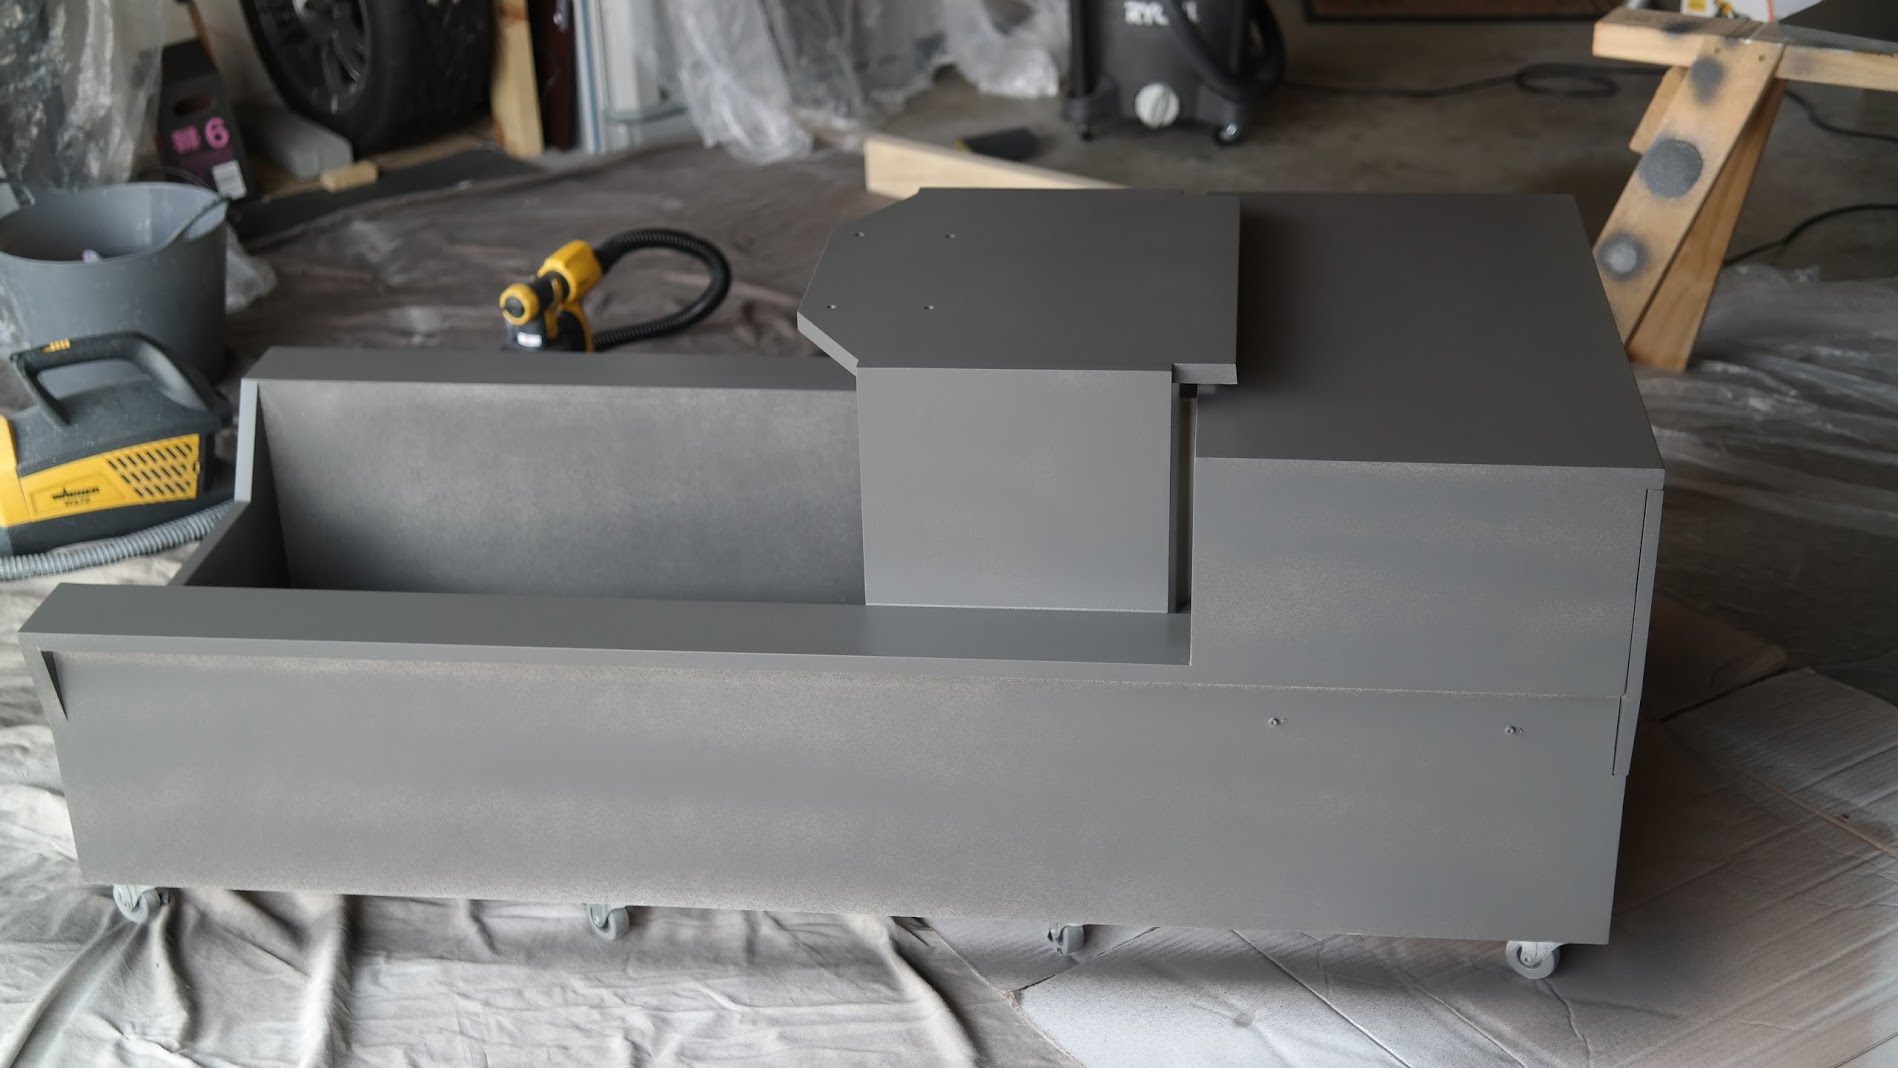
I originally started this blog post after priming and I was pretty frustrated, inadvertently getting runs everywhere. I’d used water based primer for easier cleanup and was going to paint with oil based for the top coat, I quickly reversed on that decision and went to Dulux ‘Aquanamel’. This went on way easier. I didn’t need to thin it down :
Immediately after the first “sprays” my mood perked up markedly, “I might get this done today” I thought….
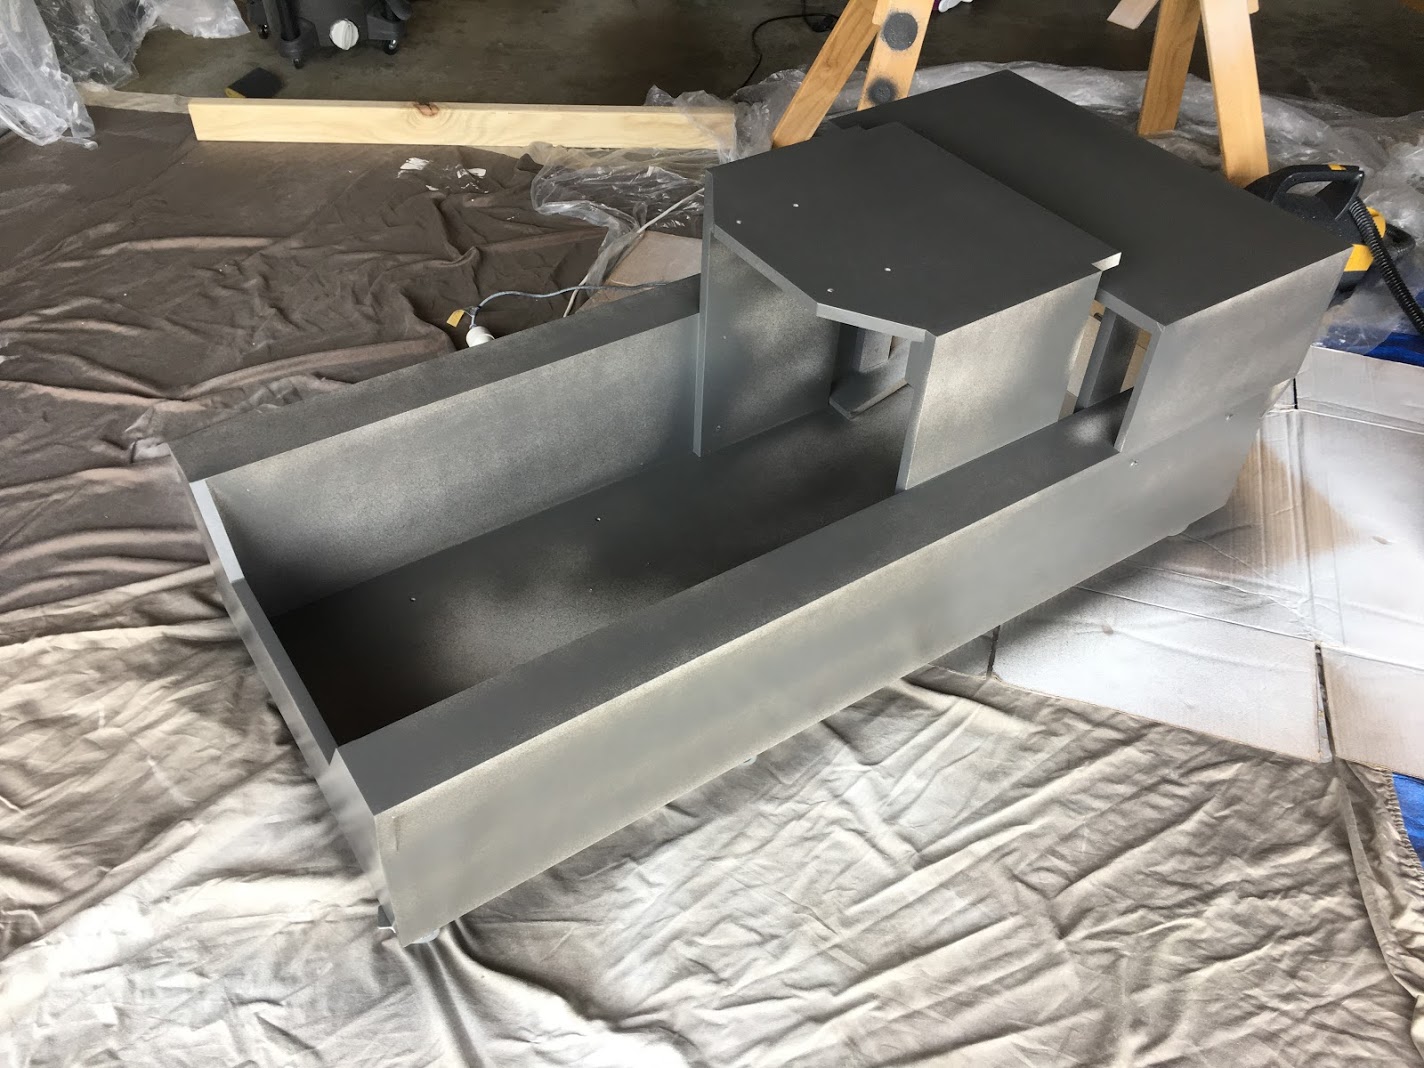
First coat, heavier on the top panels as there was no risk of runs there.
30mins in … after a drying break of 30mins
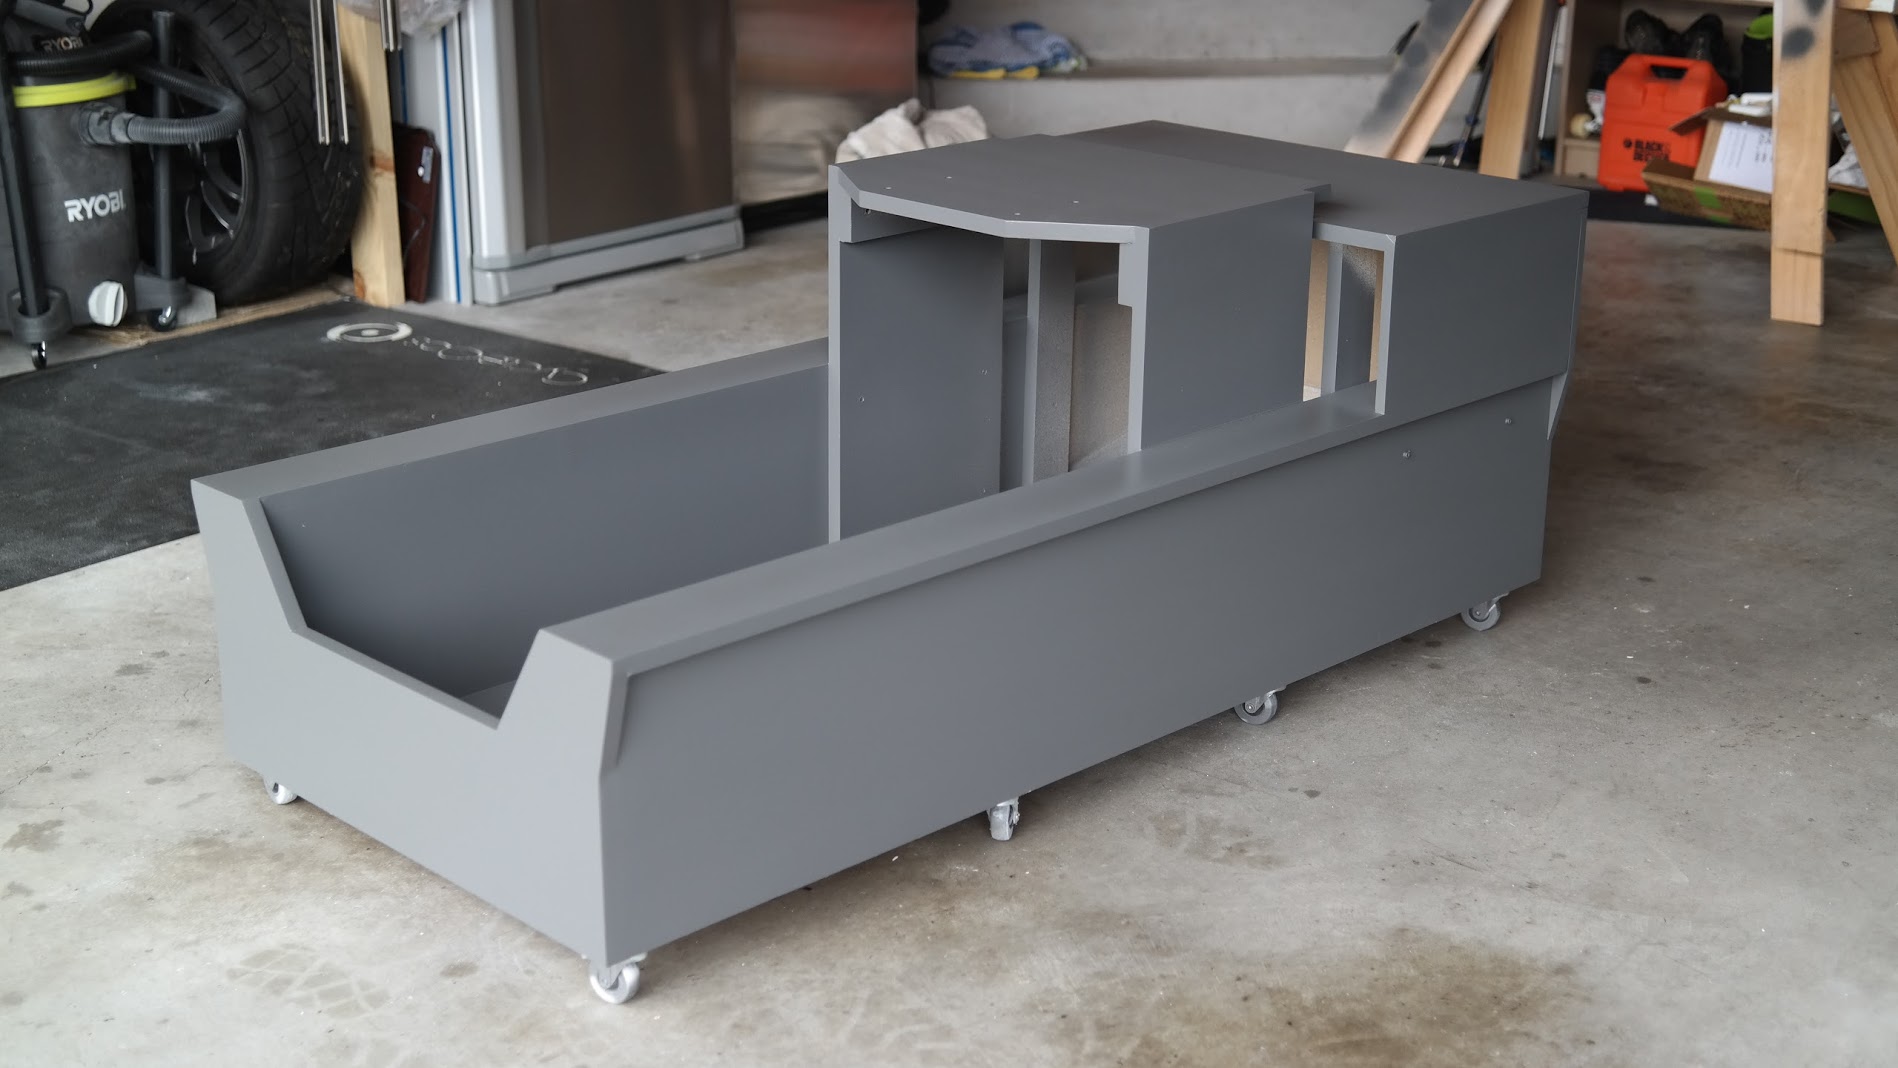
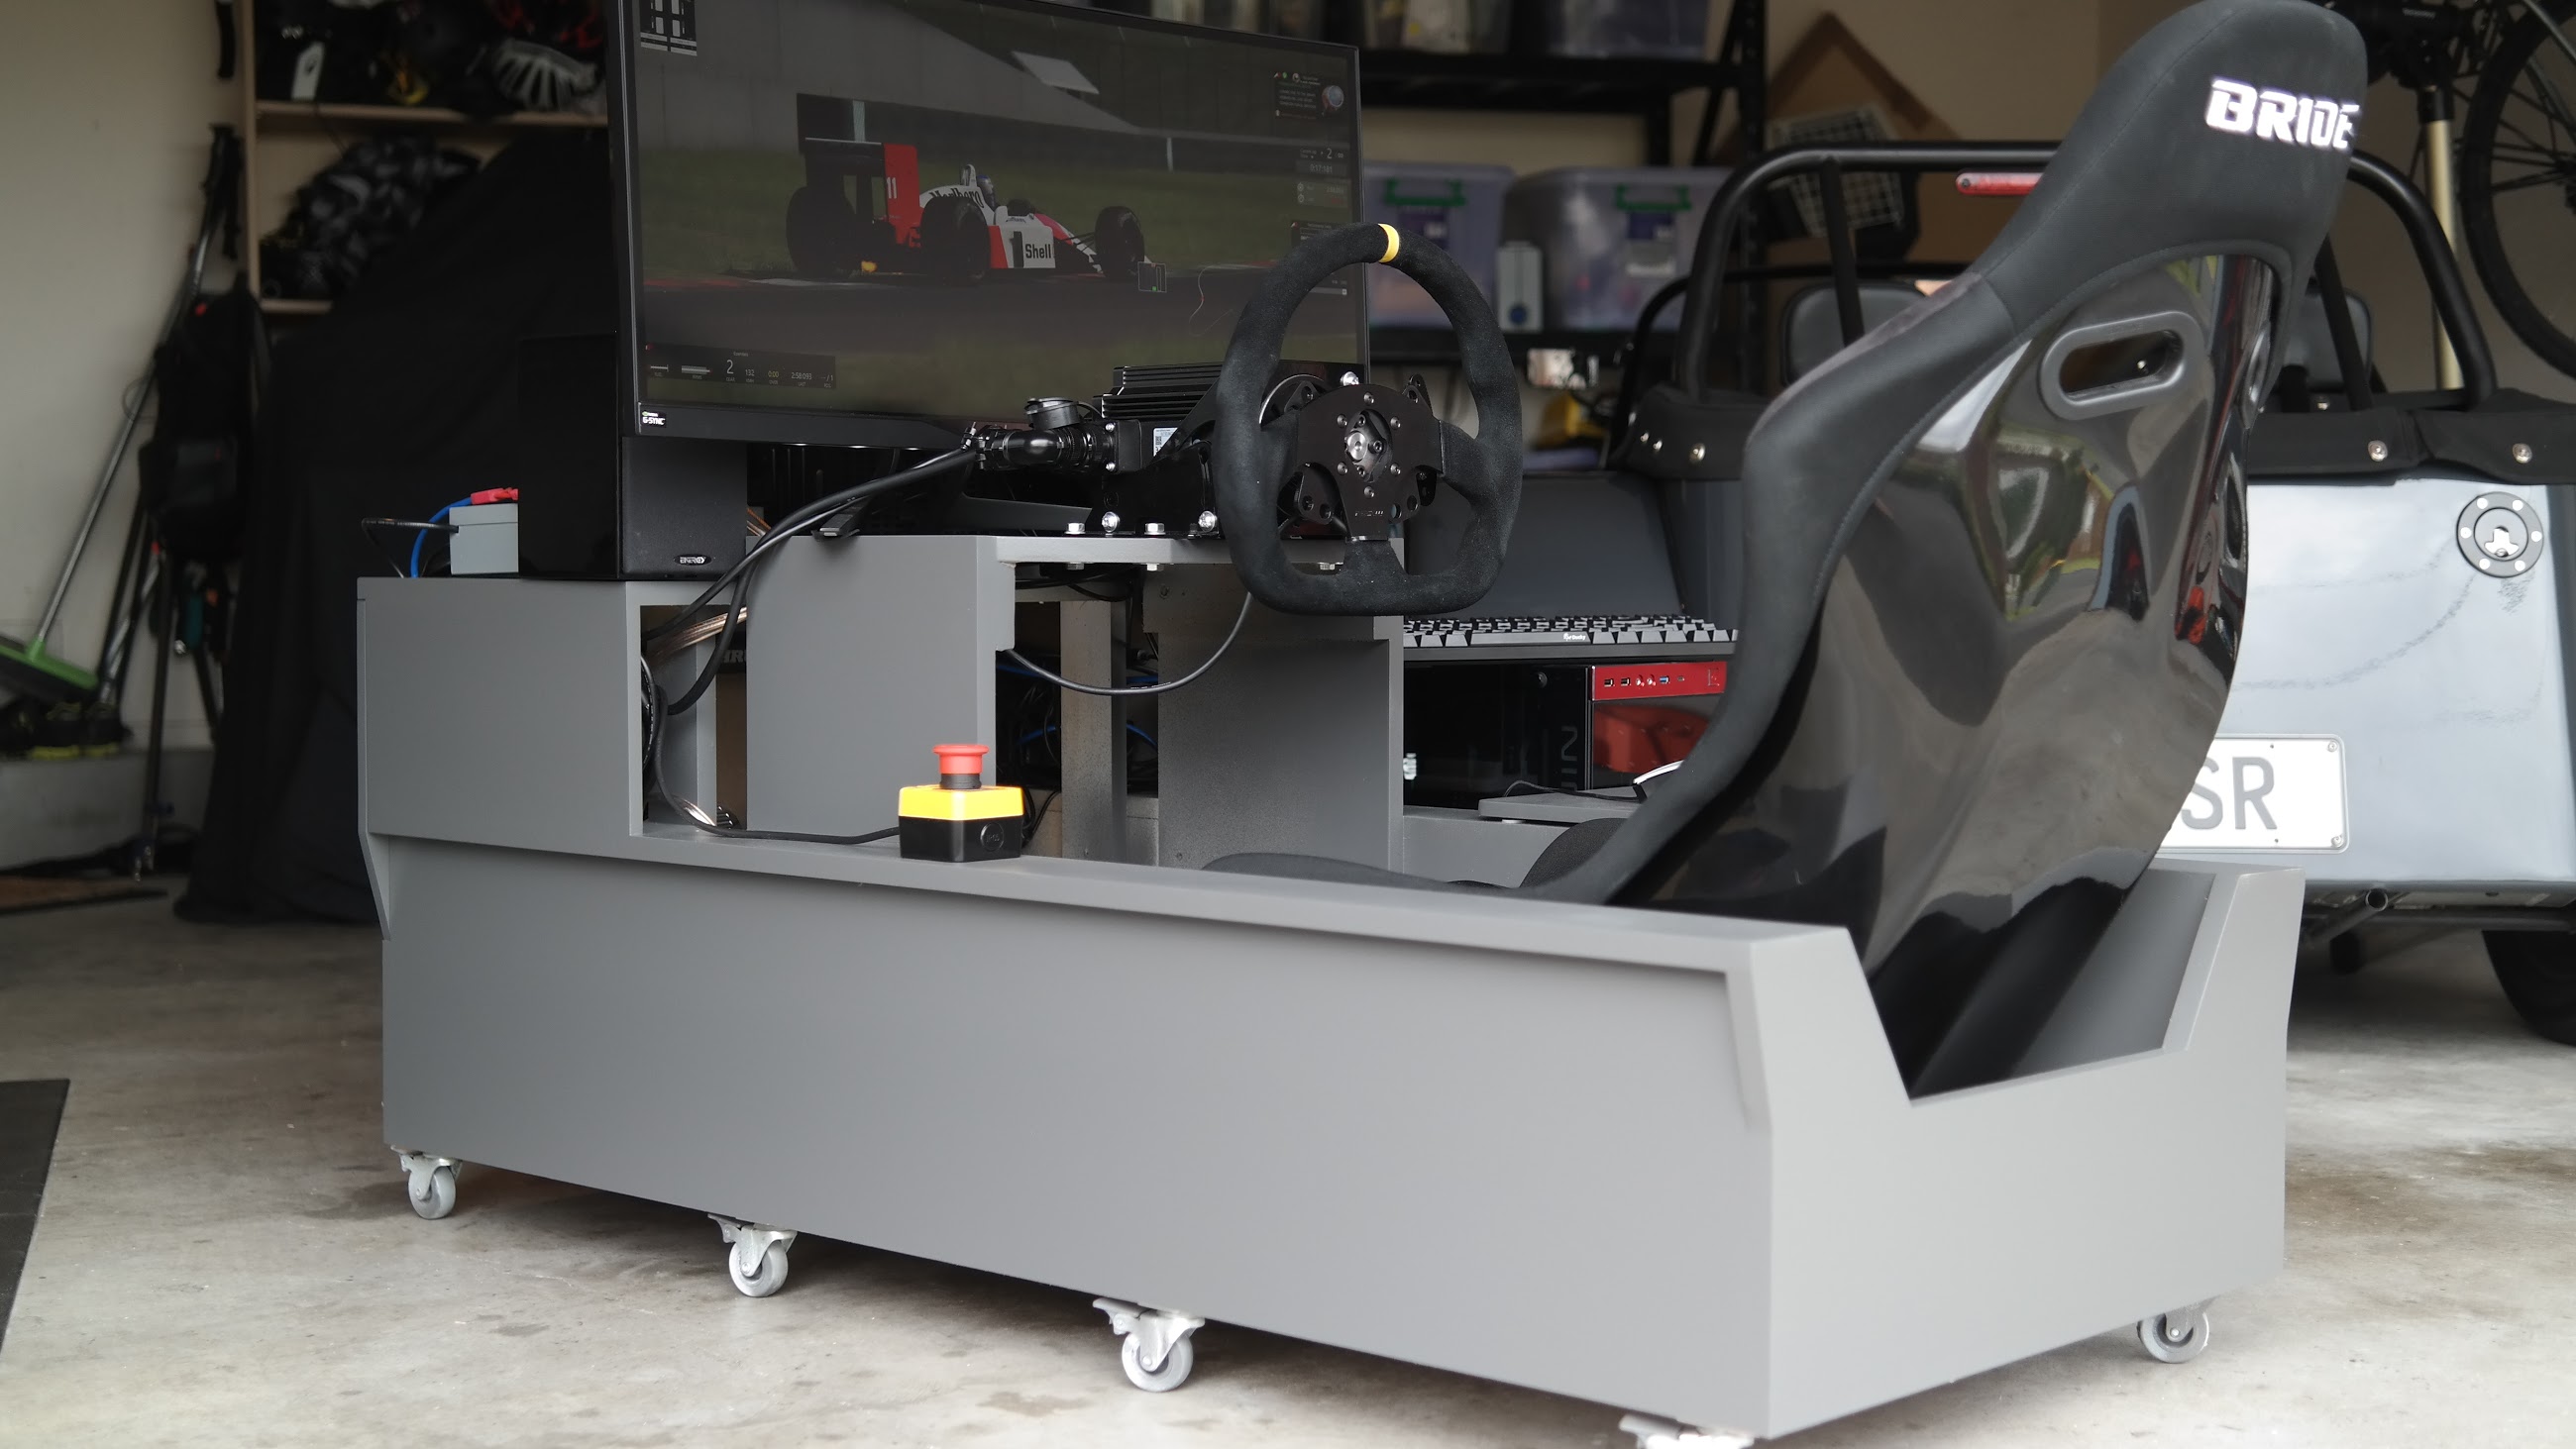
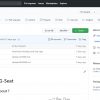
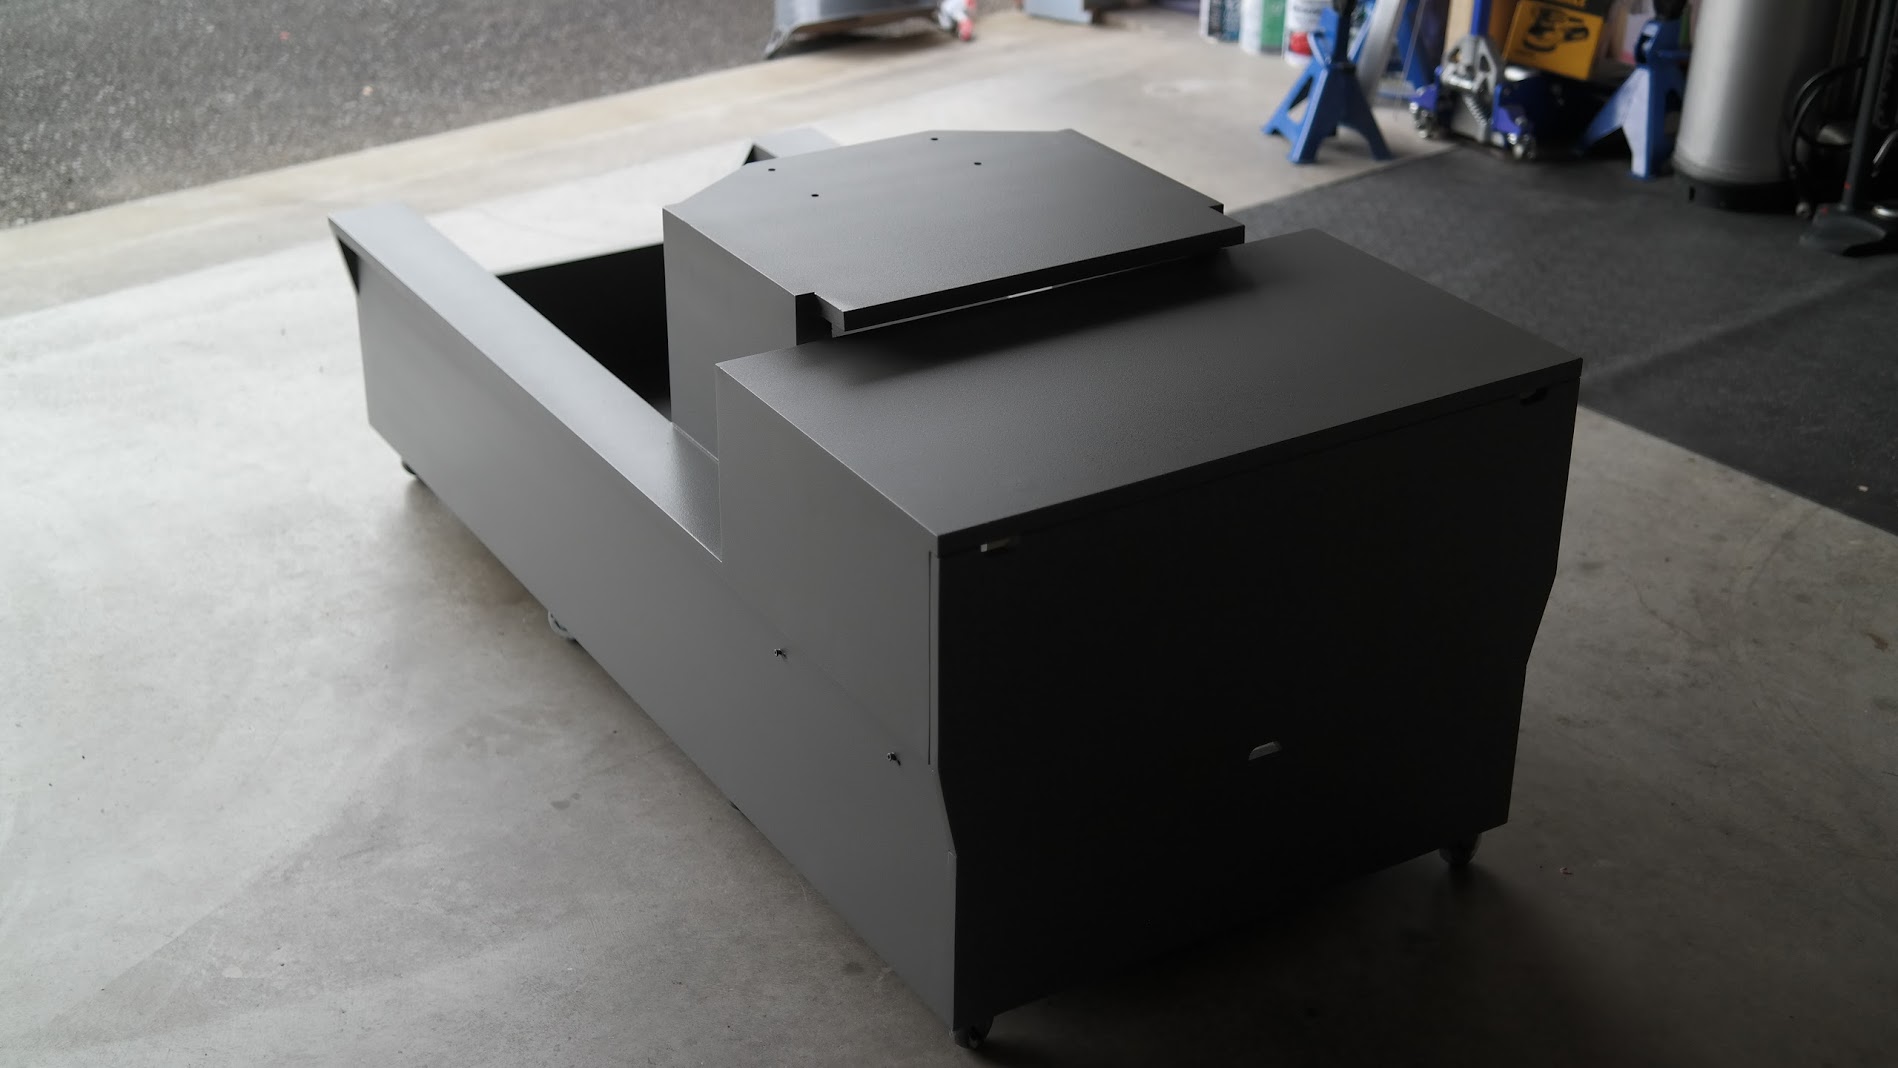
A couple of hours later, job done !
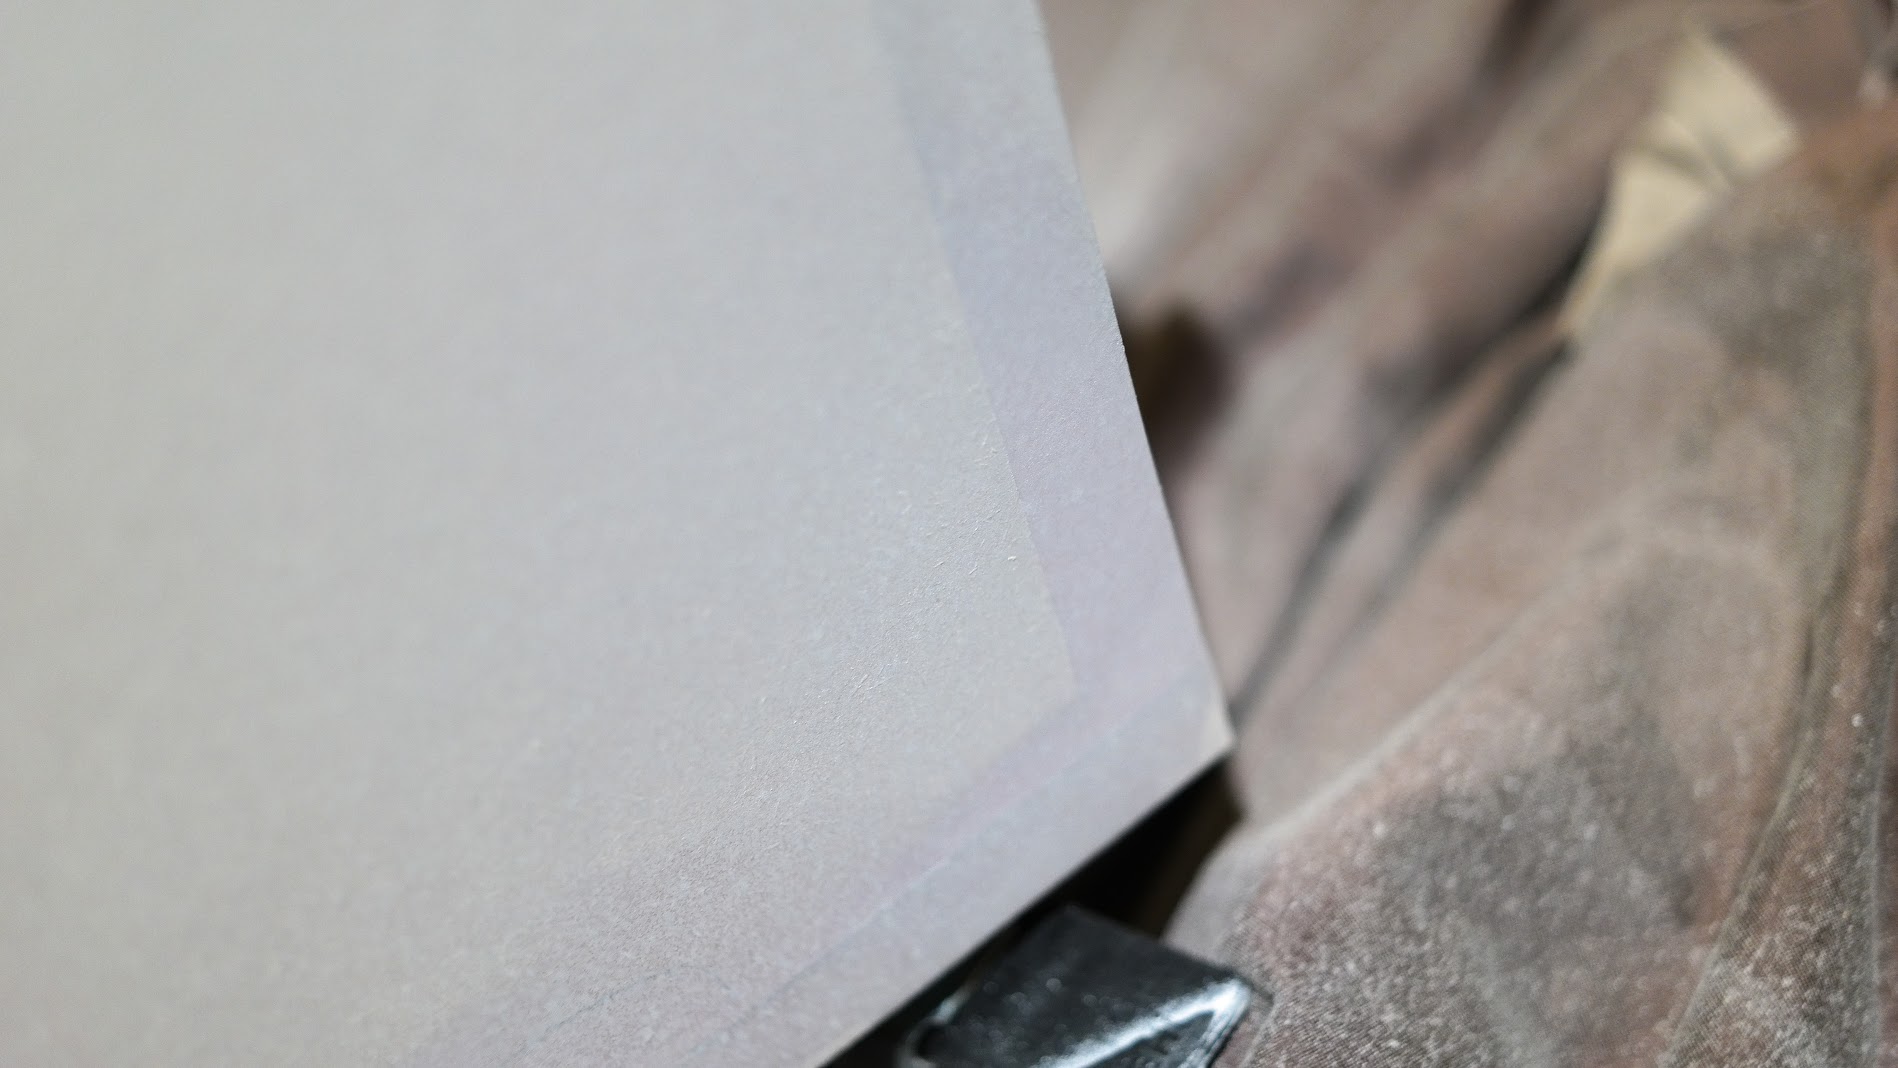
I was really impressed with the finish, I sprayed ultra light coats (and a lot of them) paranoid from runs happening I just kept going over and over and over again. The end result was a textured finish that simply looks awesome.
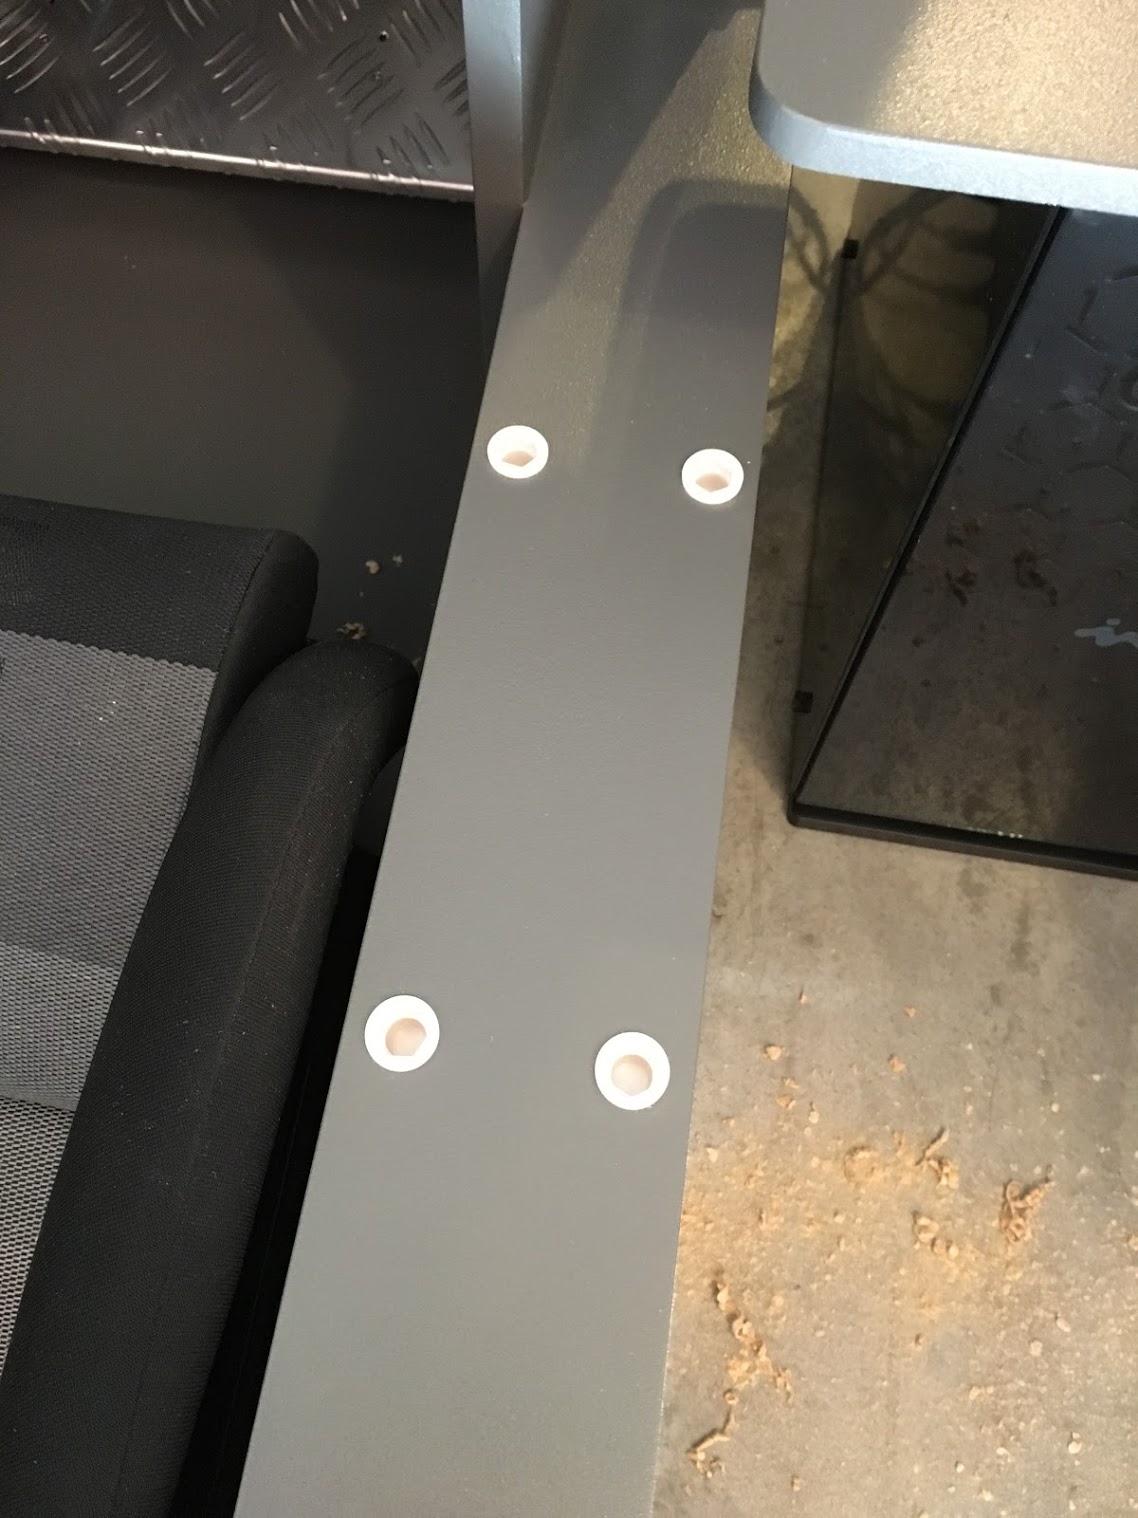
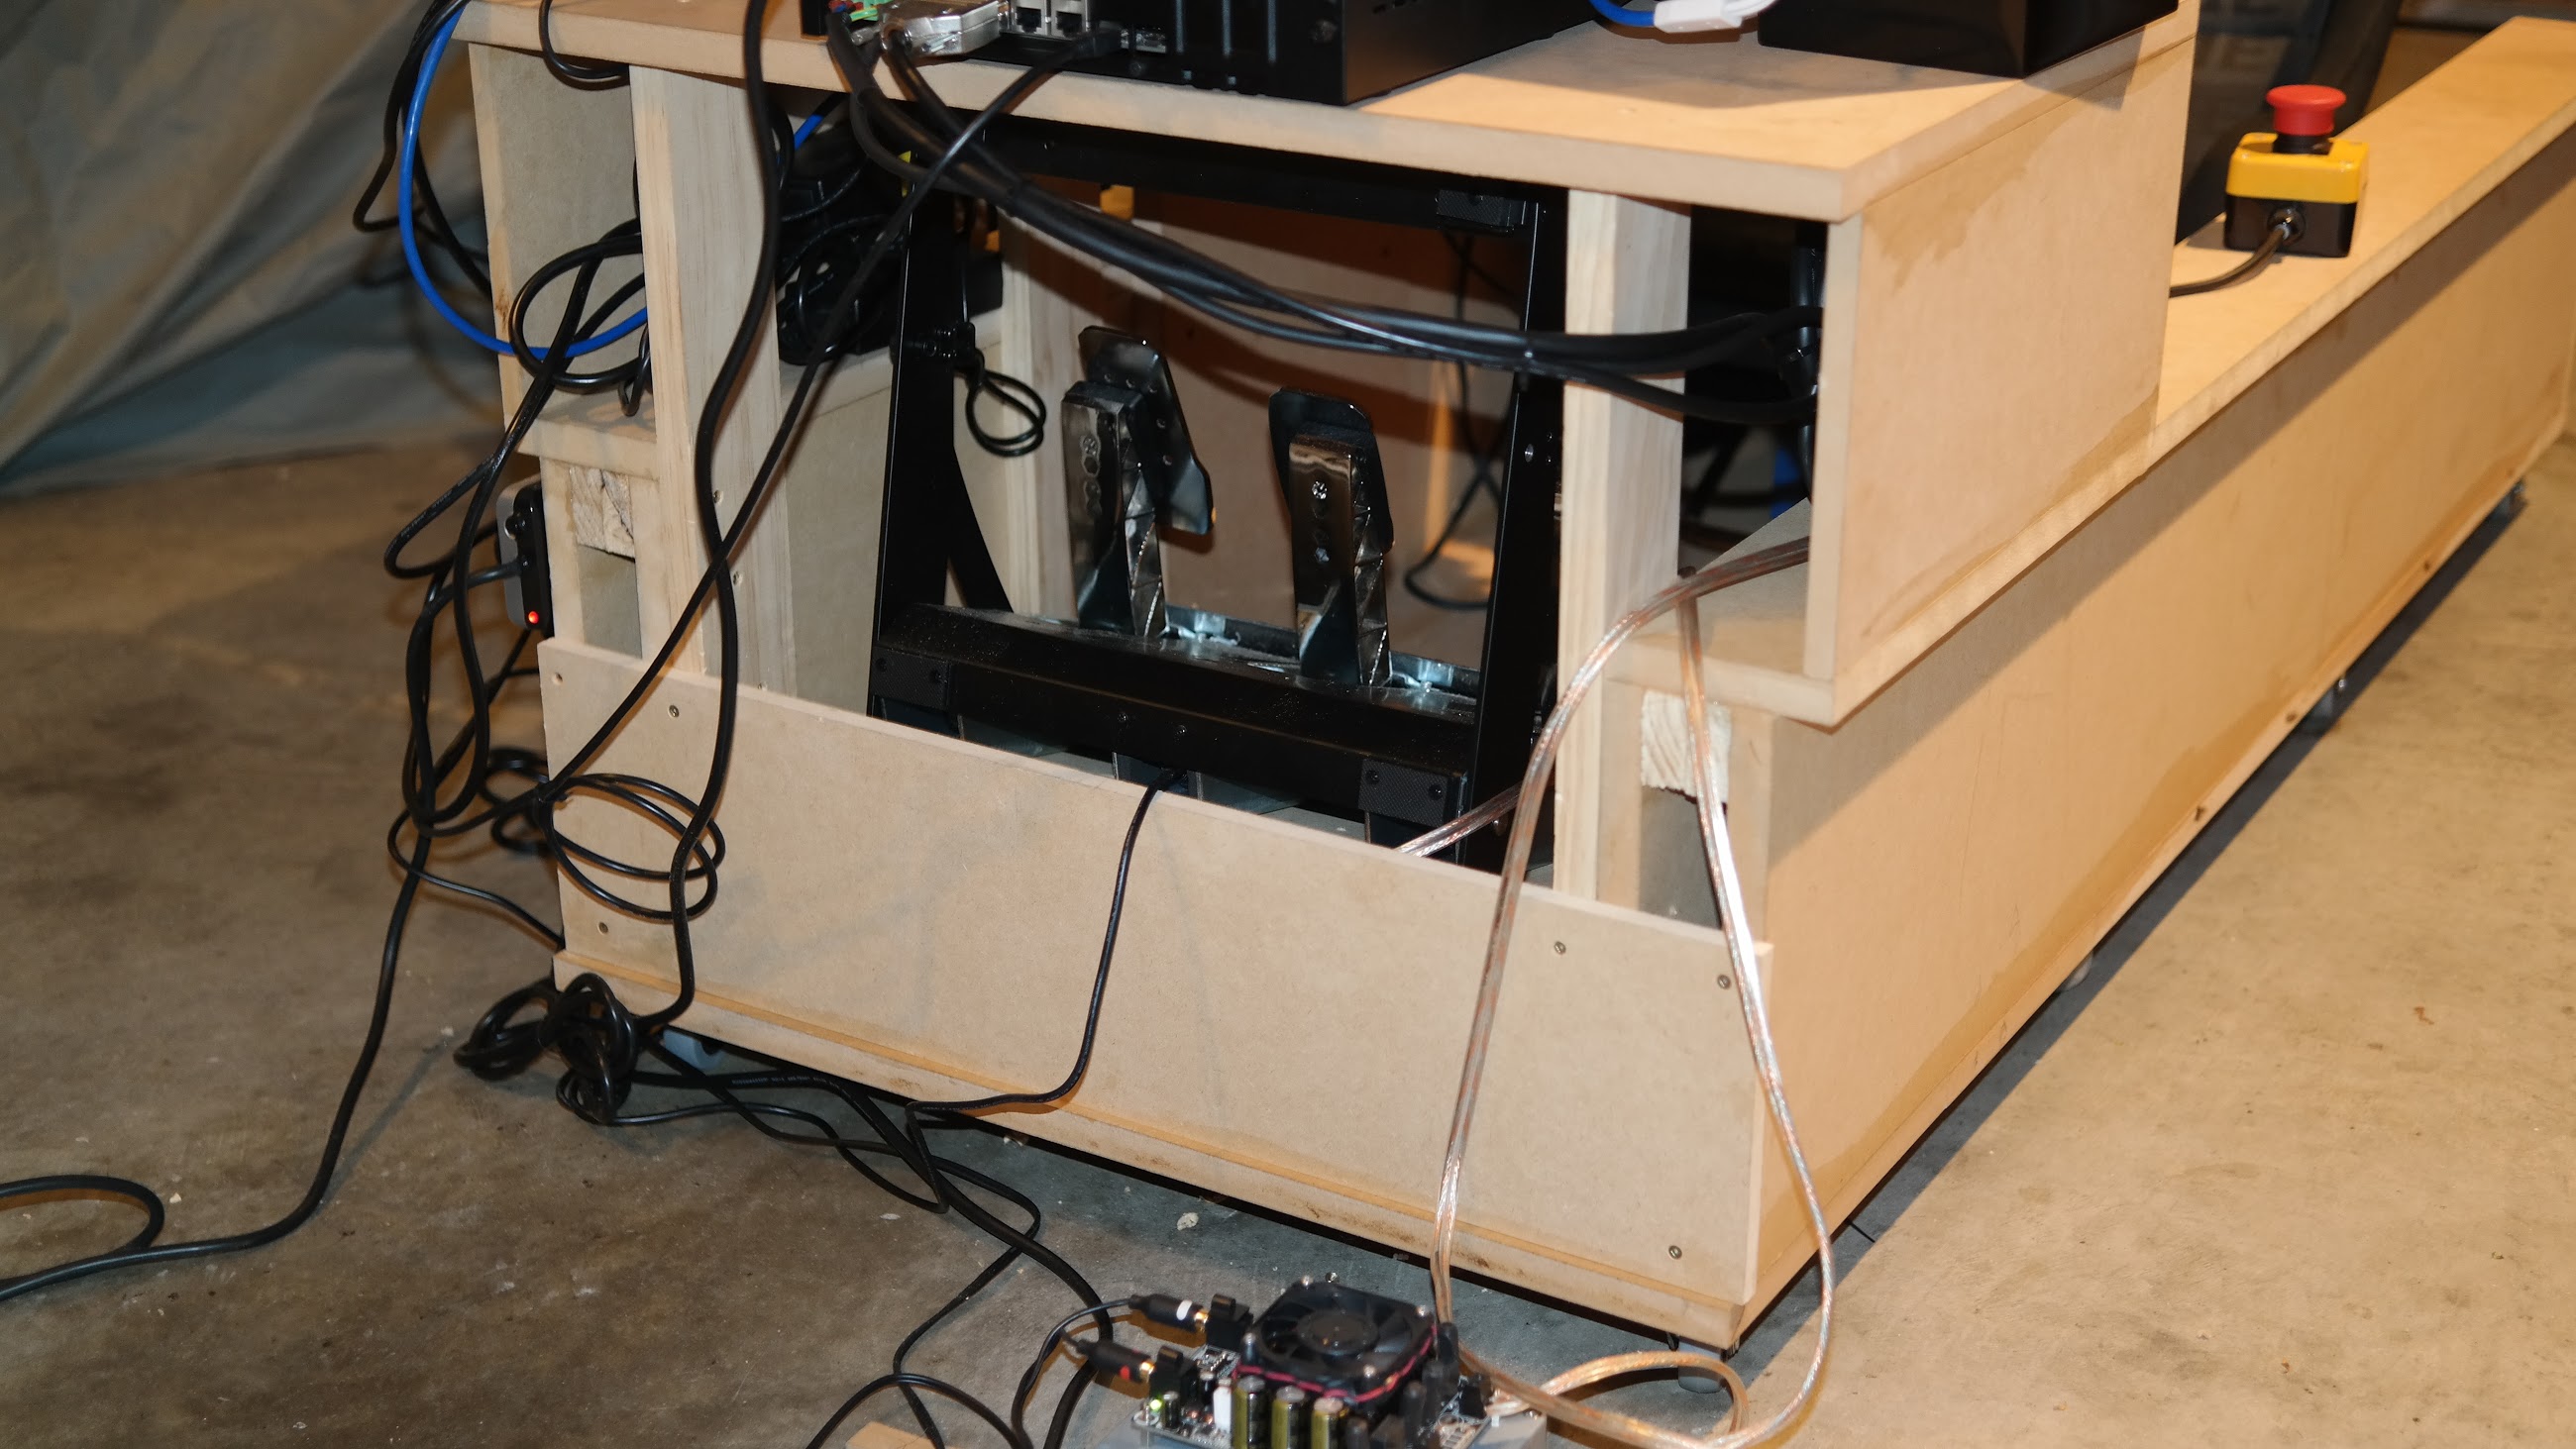
Fancy mousepad removable clip system
A good couple of hours later, re-assembling and getting the cabling a lot better (still needs work) we have a functional sim rig again ..