
Any of the works related to “@steely’s G-Seat” is Copyright 2020, Rowan Hick released under the Creative commons license Attribution-ShareAlike 4.0 International (CC BY-SA 4.0) . Read here for more details of what you can and can’t do, along with my intent.
Woop woop
It works, it’s alive, and it’s survived a few hours of abuse.
Built new arms
What I mounted both HTD5M drive trains and then promptly heard all sorts of lovely noises coming from my existing push rod arms. Getting the printer warmed up I got a spool of KVP Voron Red ABS ready. Absolutely banging colour – I didn’t think so initially but man it looks good.
I printed up some new arms knowing I was going to do the @Buri method of clamping. I used some SHF12 linear rail clamps, then filled the top edge flat, drilled a 4mm pilot hole and tapped for M5
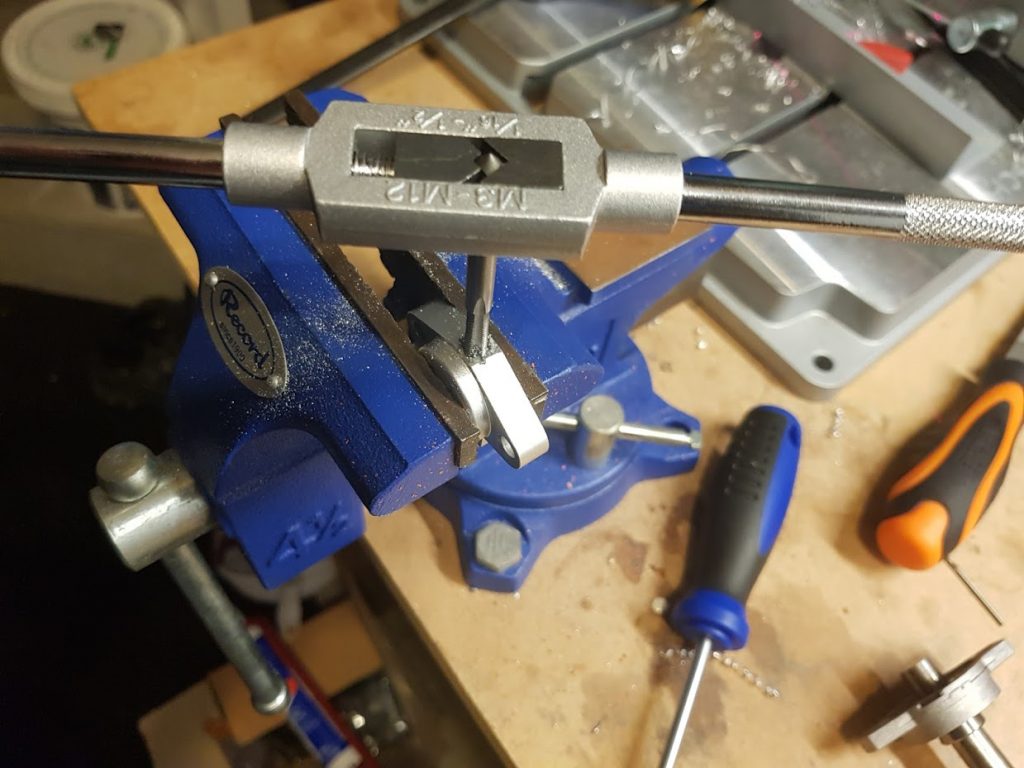
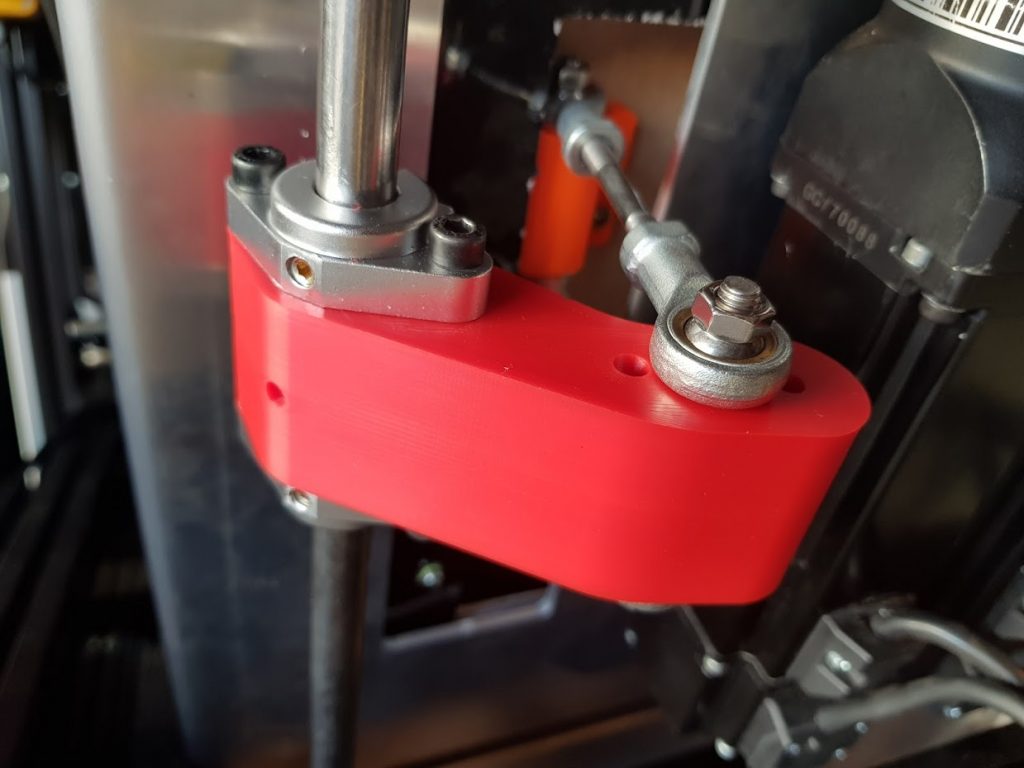
The finished piece, looking a whole lot more sturdy than the previous setup ! The collars both clamp on the shaft, and have grub screws holding them in place. I also experimented with positions on the pushrod arm to reduce the leverage effect.
Will it hold?
The answer, hell yes it held! I managed to turn everything up and the rig, and the results are, well – spectacular !
Suffice to say I’m incredibly stoked with how it’s come out. The next step I had to add some padding to make it a little more comfortable. Once I did I’ve barely been able to get out of the rig since. But you know, you need to eat, work, interact with your other half, design up other cool stuff, and document what you’ve done….
Initial feedback
This is highly game/track/car specific. Which is quite understandable. Take a big boaty BMW M6 GT3 car and it’s not very abrupt, conversely go out the bouncy 911 GT3R and life changes, then change simulators and go over to RF2 and a LMP car, suddenly it’s all game on !
I will do a video describing whats going.
Full Bill of Materials/Parts/Plans List


I have started pulling together a list of the materials, instructions, files notes of what it’s taken to get this far. This is a living document, and work in progress, so please look at it “eyes wide open”. There is a tonne of detail in here, not to be missed if you’re interest in following along.
You’ve been warned
The intention is anyone who is mad enough could use and emulate to build their own. You would have to do your own design work to adapt the “powerpack” to your own seat. You would require to design/fabricate their own seat panels/hinge mechanics etc. And the powerpacks would only work for certain seat dimensions etc. So it’s not at all a “paint by numbers” DIY setup like the SFX-100. That’s some pretty decent fabrication required.
But maybe I could make it a little easier…….
So what’s next?
Well to put it quite simply the seat itself is terrible, a hindrance, and lacking in any form of precision. Given that you’re sitting on the seat flaps as opposed to the seat itself, what’s the point of the seat ?! well I’ve asked this question many times, and now finally given up asking the question because the answer – the seat is pointless. Time to make a proper frame.
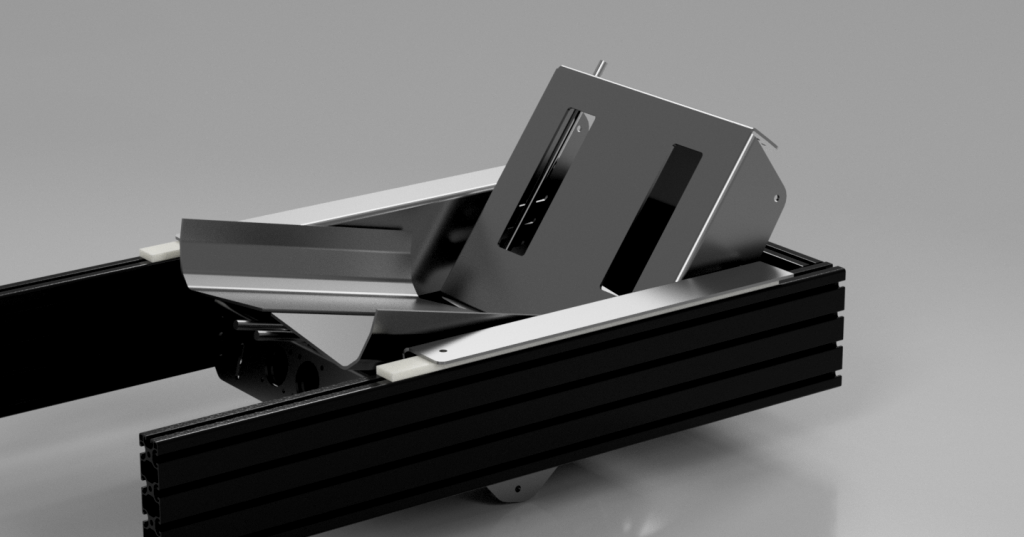
Why ?
- I want precise distances on hinge/leverage points
- I want a stiff structure
- I want it to look absolutely freaking rad and mechanical
- Easier for other people to follow along; as it will be based on a frame internal width of 500mm – (i.e. a Simlab P1)
- I want it to be very modular so I can play with seat flaps for instance without affecting powerpacks.
I’m part way through designing this…. and very very amped about sending some files off to my CNC guys. Hopefully this weekend I’ll have something designed ready to go.
Stay tuned !


Nice! thanks for sharing the information. This is something i wat to start after i finish the SFX100 and my home…..